Create the Peer Role - AWS
Before you begin
You need:
About this task
Important: The AWS user who creates the peer role stack must be assigned a role with the
"iam:CreateRole" and "iam:AttachRolePolicy" permissions at a minimum. For more general information about creating a role in AWS, see Creating a Role to Delegate Permissions to an AWS Service.Procedure
- Navigate to the AWS CloudFormation Console page.
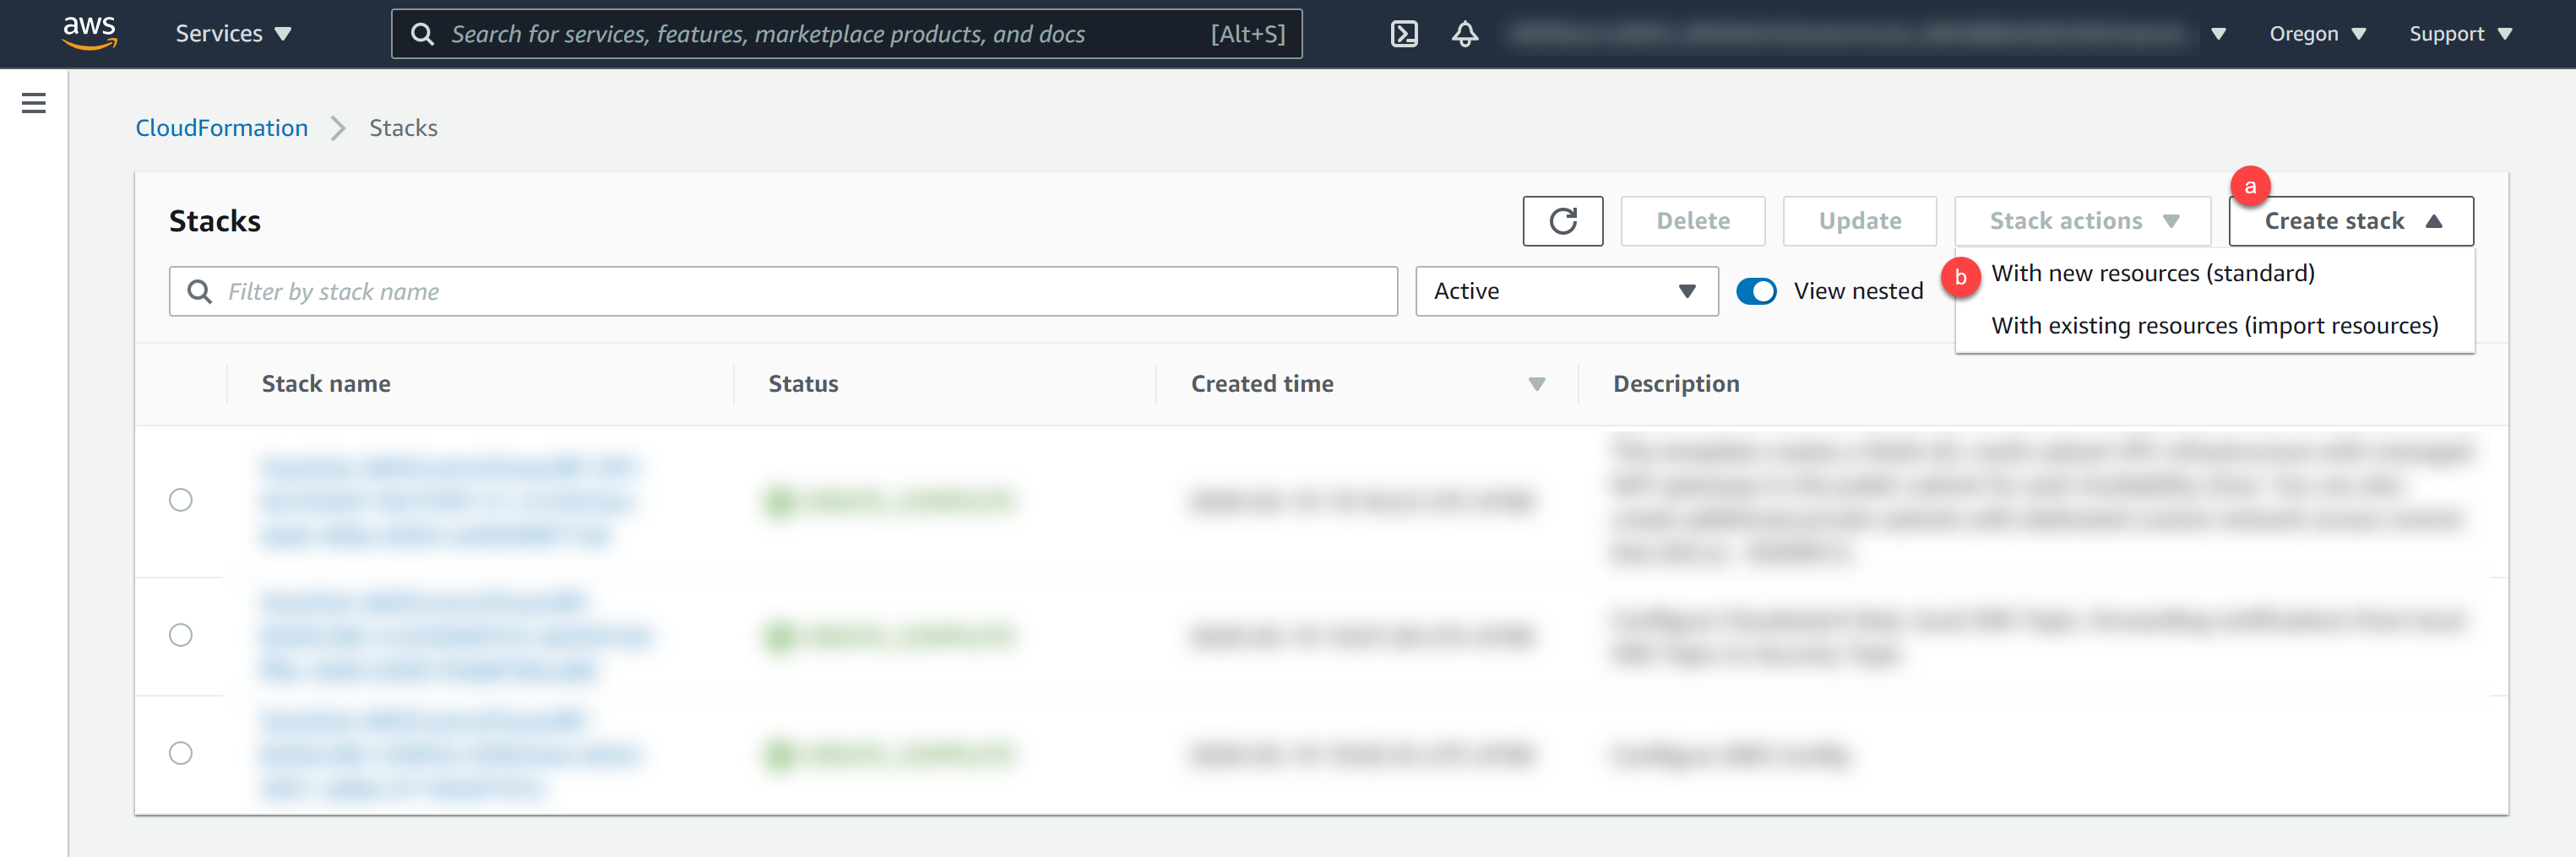
- Click Create stack.
- Click With new resources (standard).
Important: Before you continue, ensure you are creating your stack in a region supported by Data Hub Service (DHS). See Supported Regions - AWS. - In the Create stack page, specify the
peer-role.template.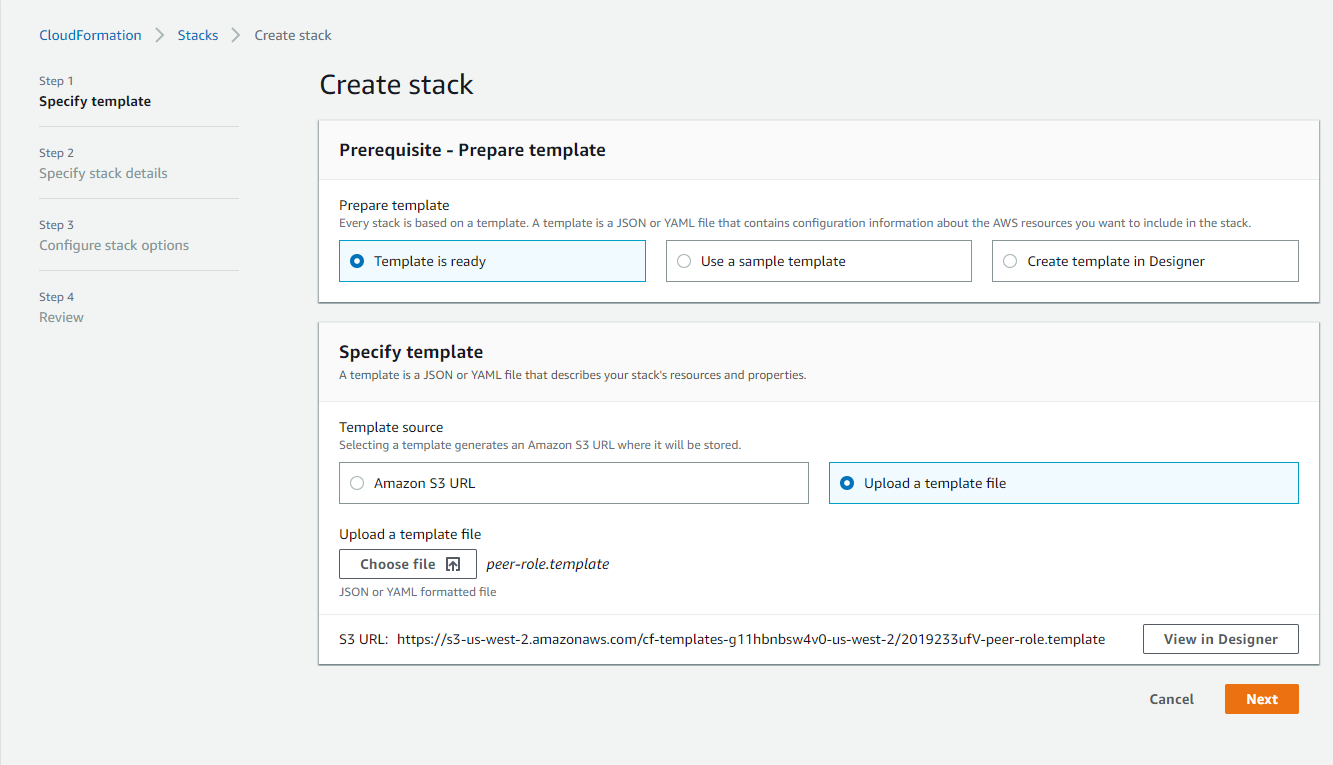
- Click .
- In the Specify Stack Details page, supply the fields with the following information:
Note: For more general information on creating a stack, see Creating a Stack on the AWS CloudFormation Console.
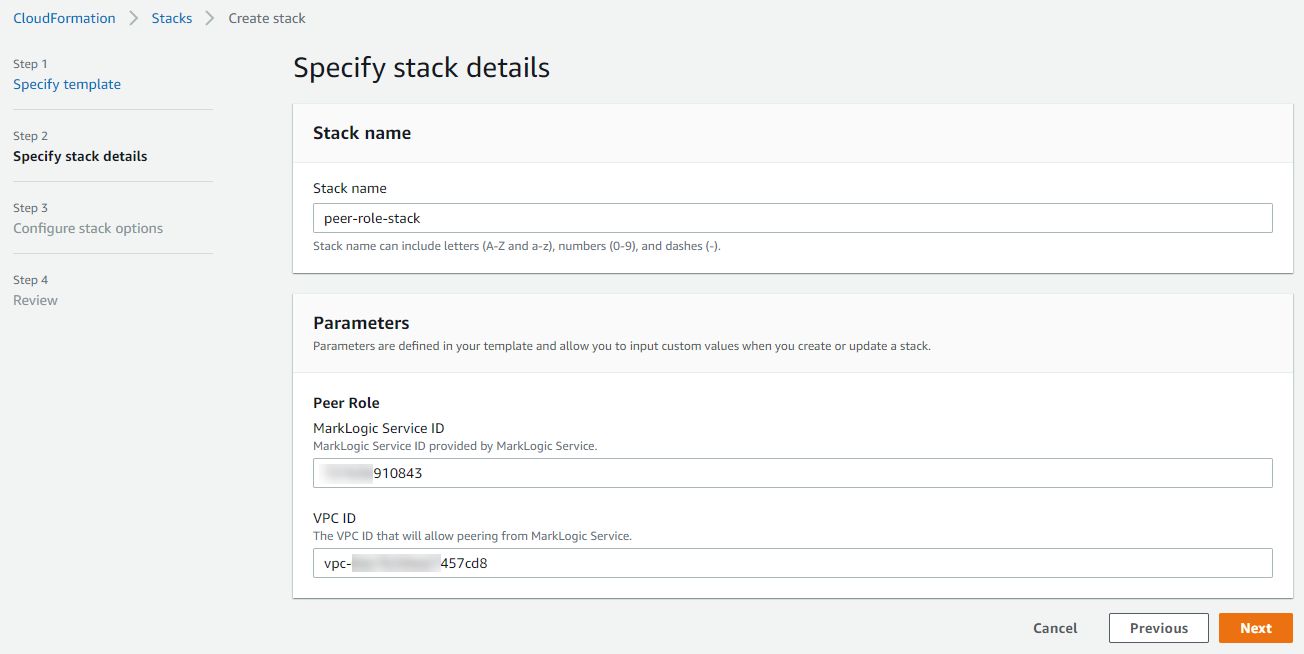
Field Description Stack name The name for this collection of AWS network resources. MarkLogic Service ID The ID that identifies you as a MarkLogic Service subscriber. To find your MarkLogic Service ID in DHS, navigate to the MarkLogic Data Hub Service home page and click on the username in the top menu.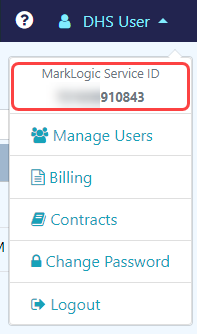
VPC ID Your client-side VPC's identifier ( vpc-*).Important: The VPC ID must include thevpc-prefix.To find your VPC ID in AWS CloudFormation Console, navigate to the AWS CloudFormation Console.
- Select the stack created when you set up a client-side VPC.
- Select the Resources tab.
To find all of your VPC IDs in AWS, navigate to AWS.
- From the top menu, navigate to .
- In the Resources by Region page, click VPCs.
Example:
vpc-0f23c32843d97f2fbClick the following link to view a full list of client-side network resources.
- Click .
- Review the details.
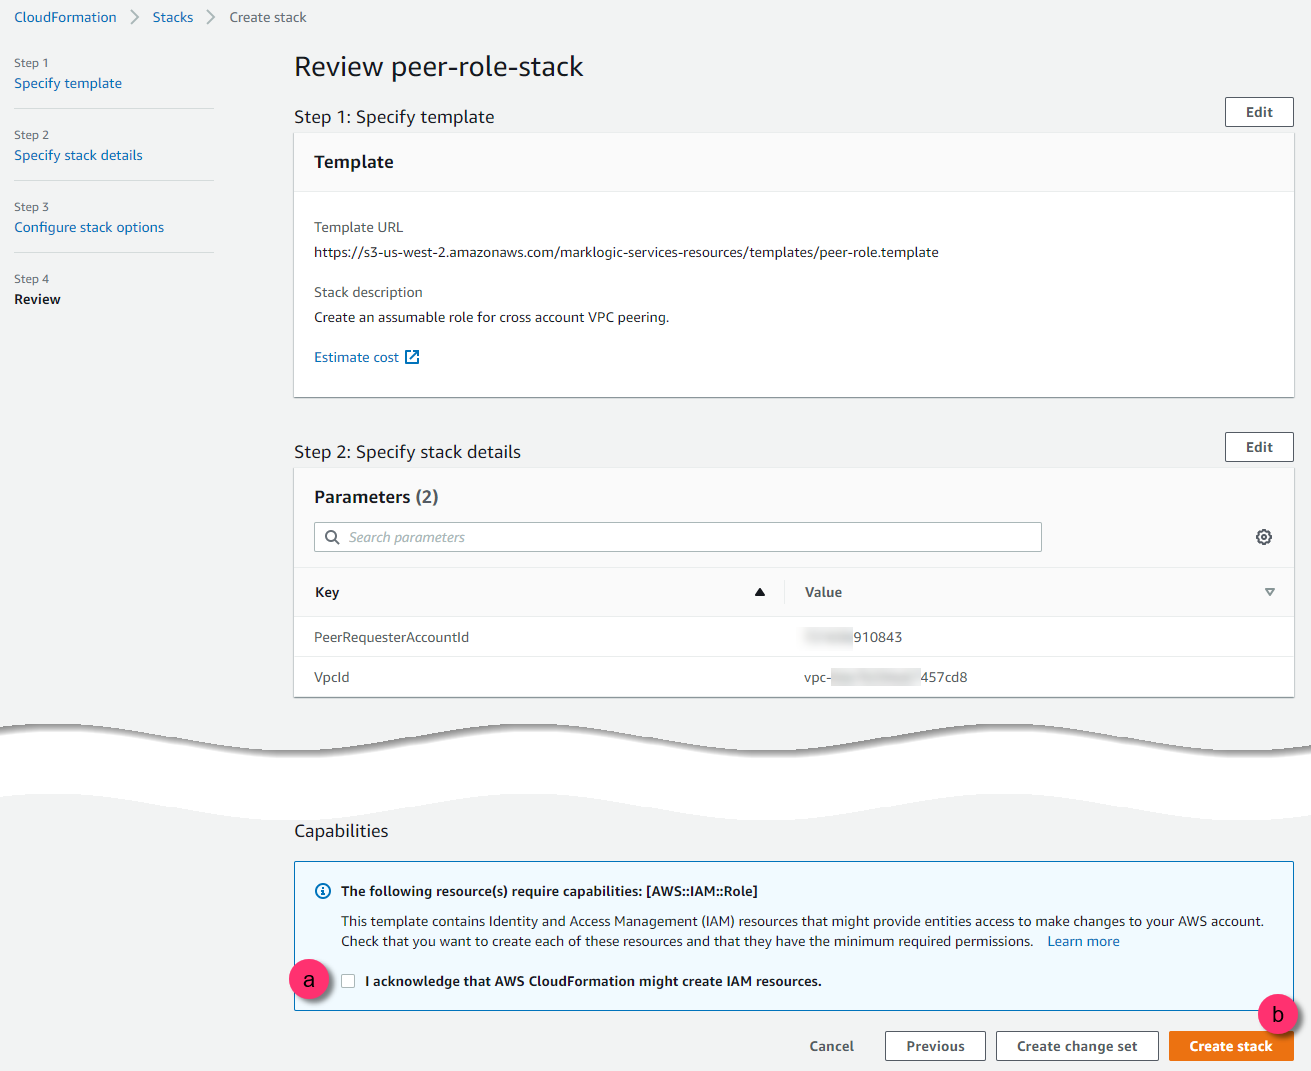
(Optional) To make changes, click .
- To confirm, select the I acknowledge... check box.
- Click .
Results
CREATE_COMPLETE.
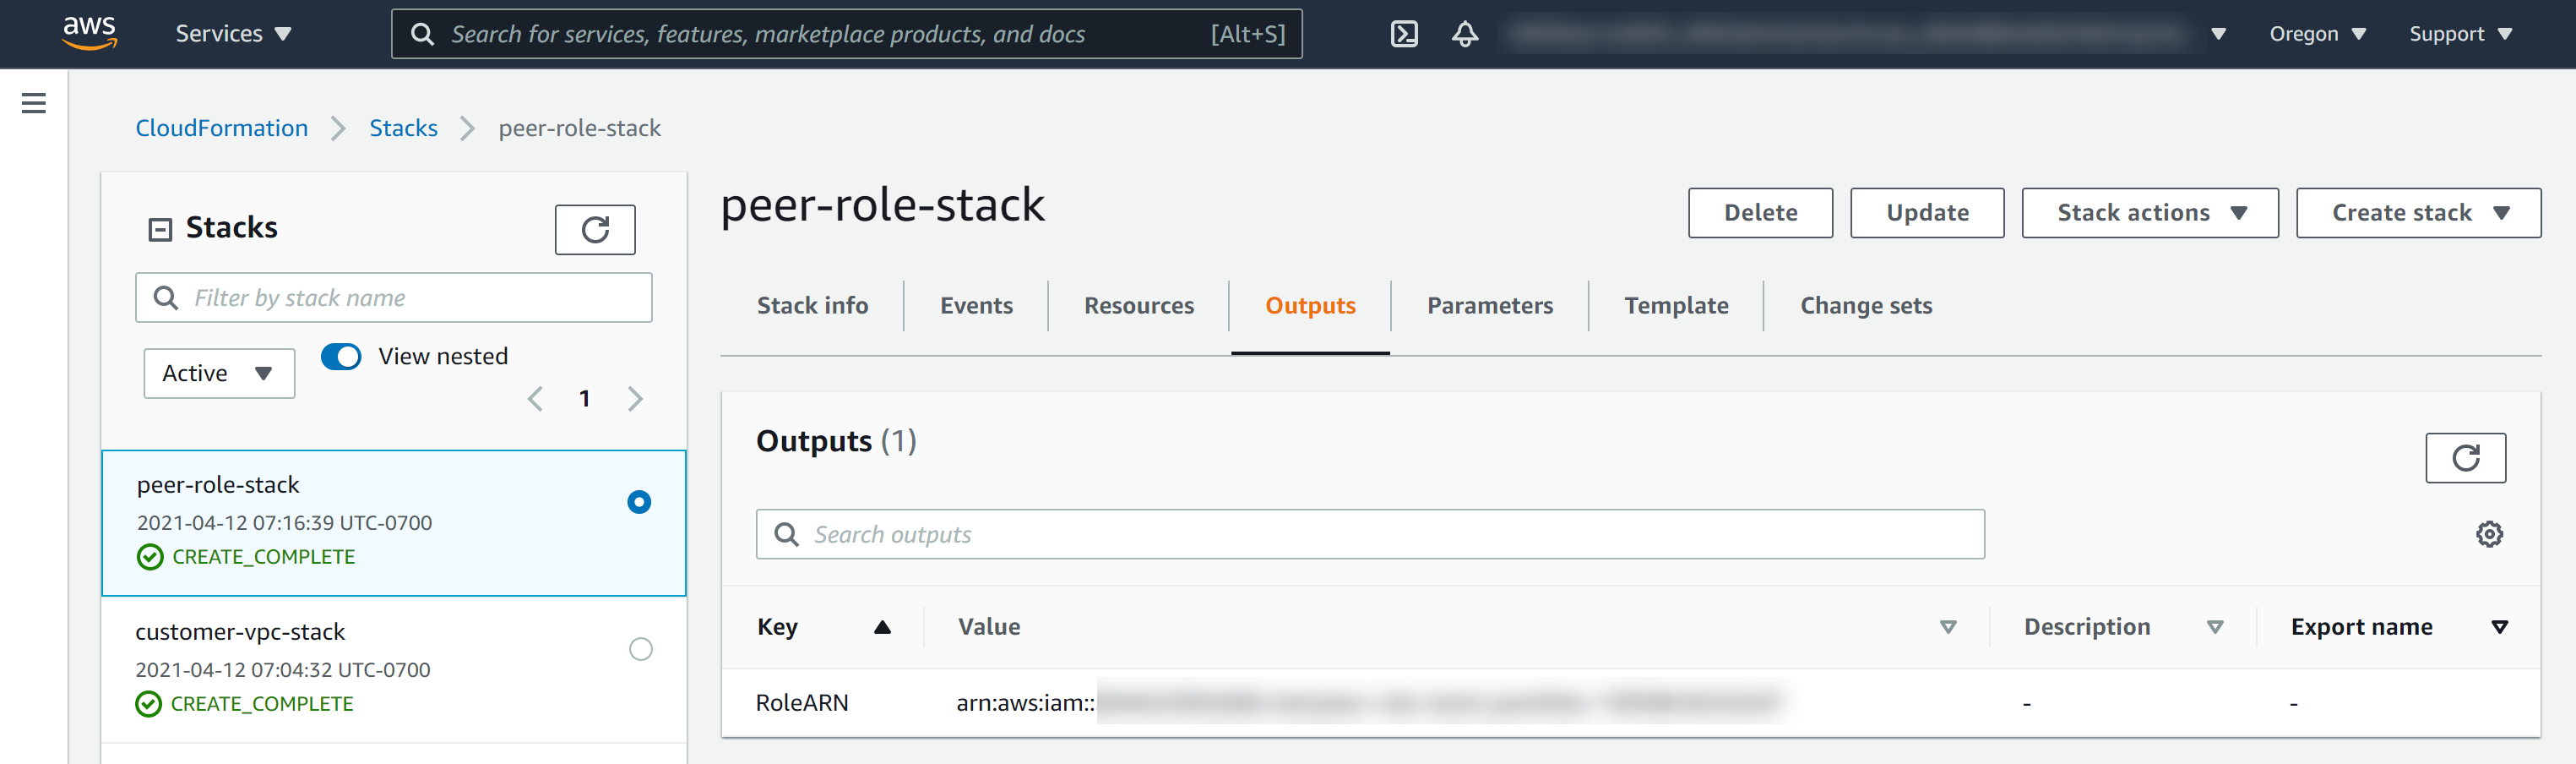
Important: Make note of values that each task produces. Depending on your organization's security model, values might need to be shared with others in your organization.
| Value | How to find | Required to |
|---|---|---|
| RoleARN | In AWS CloudFormation Console, click the stack name and then click the Outputs tab. Example: For more general information, see https://docs.aws.amazon.com/IAM/latest/UserGuide/id_roles.html. |
Set Up a Peered Network |