Create a Mapping Step Using Hub Central
Before you begin
You need:
- Security role: Hub Central Developer, Hub Central Curator, or any role that inherits any of these. Learn more: Users and Roles
Procedure
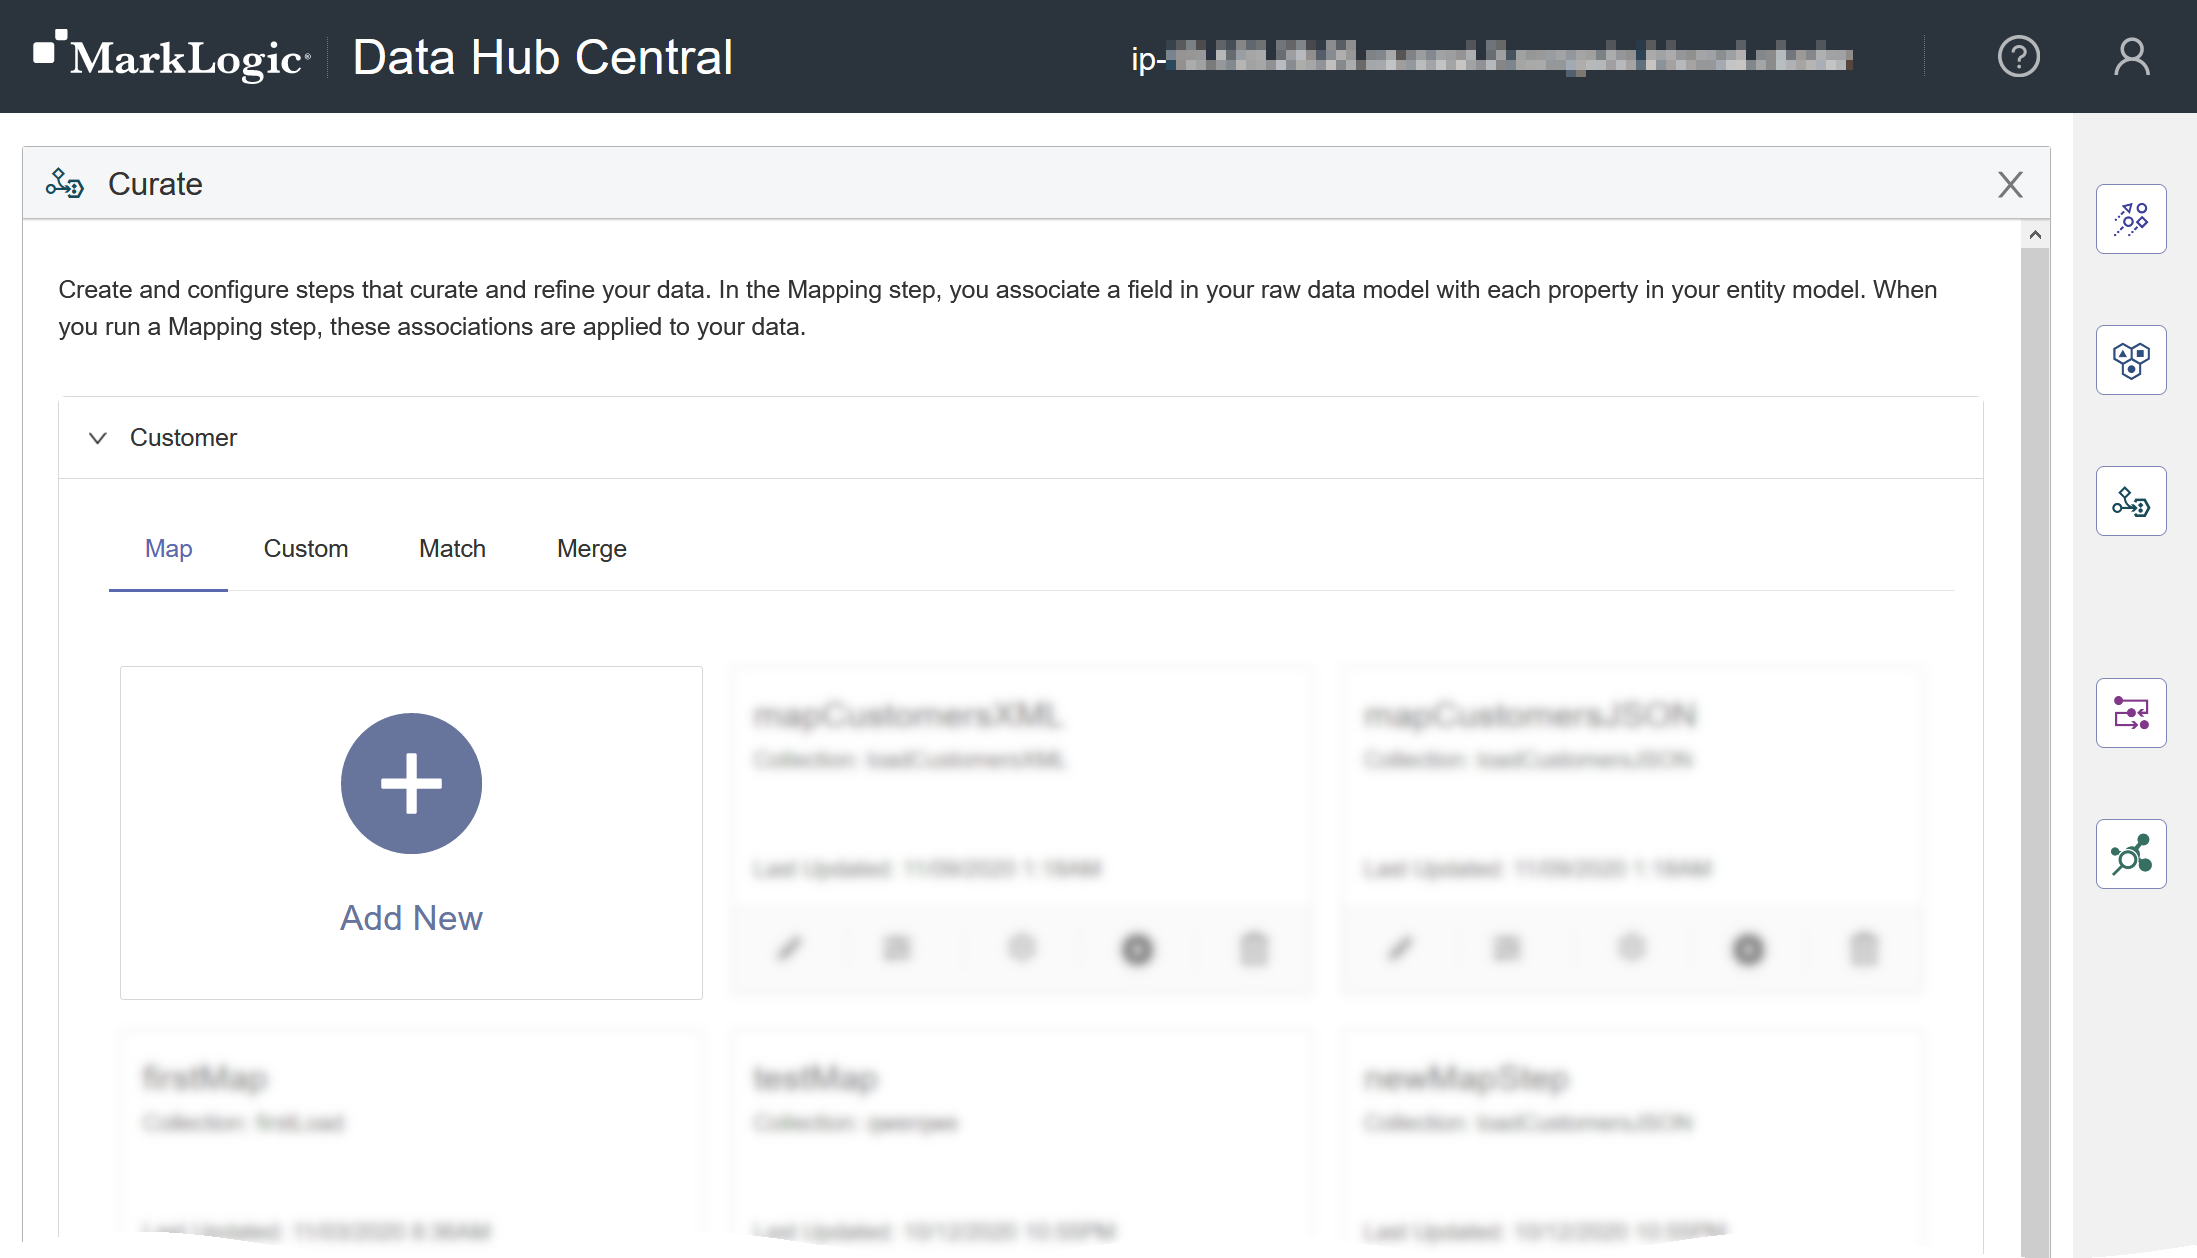
- Go to the Curate area of Hub Central.
Learn how.
- Go to your Hub Central endpoint.
Note: Disregard this step if you are working from an on-prem environment. See Step 1b.
Learn more:
- In the icon bar, click the Curate icon ().

- Go to your Hub Central endpoint.
- Click the Map tab, then click the Add New tile.
- Configure the step's basic settings.
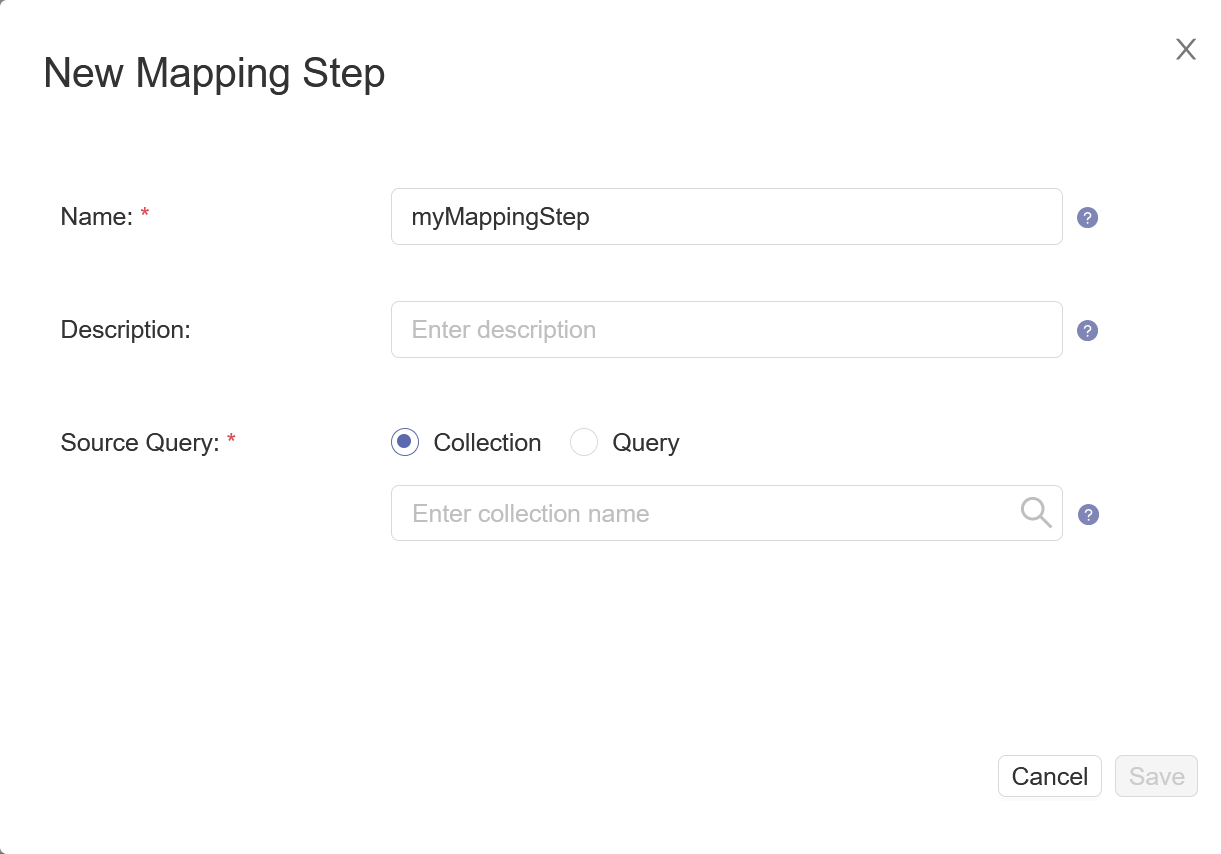
Name Description Name The name of the step instance. Note: The step name is used as part of the names of related assets, as a collection name to tag processed documents, and as metadata in provenance and lineage logs. Therefore, it cannot be changed after the step is created.Description (Optional) A description of the step. Source Query The collection or CTS query that selects the source data to process. Learn more: CTS Query.
- Configure the step's advanced settings.

Name Description Source Database The database from which to take the input data. Choose the STAGING database where you stored ingested data. The default is data-hub-STAGING.Target Database The FINAL database where you want to store mapped data. The default is data-hub-FINAL.Target Collections Comma-separated string containing additional collection tags to apply to the processed records. The Default Collections tags are automatically applied. Target Permissions The permissions required to access the documents created by the step. The string must be in the format
role,capability,role,capability,..., wherecapabilitycan beread,insert,update, orexecute.Target Format The format of the processed record: Text, JSON, XML, or Binary. The default is JSON. Provenance Granularity The granularity of the provenance tracking information: coarse(default) to store document-level provenance information only,fineto store document-level and property-level provenance information, oroffto disable provenance tracking in future job runs. Applies only to mapping, matching, merging, mastering, and custom steps. Learn more: About Provenance and Lineage.Entity Validation Indicates whether to validate the mapped entity instance against the schema document based on the entity model, and what action to take. Set to falseto skip validation. Set toacceptto write the mapped entity instance to the database regardless of the validation result. Set torejectto skip writing the mapped entity instance to the database if the validation failed. The default isfalse. Learn more: about-mapping.html#about-mapping__validation-of-mapped-expressions.Source Record Scope The scope of the source record you want to map to. Choose Instance Onlyto map to the source instance in your envelope. ChooseEntire Recordto map to any of the source fields in your envelope. The default isInstance Only. Changes to the source record scope affect existing mapping expressions. Adjust existing mapping expressions to reflect the new paths to your source fields. Options: instanceOnly, entireRecordBatch Size The number of documents to process per batch. A smaller batch size provides finer granularity in the jobs reporting. However, a smaller batch file also costs more because of the processing overhead. The recommended batch size for merging is 1. Header Content A JSON object that represents additional metadata to add to the header section of the envelope of each record. Interceptors An array of JSON objects specifying the custom modules that perform additional processes on a batch after the core step processes are completed and before the results are saved in the database. ExampleSyntax:
[ { "path": "/uri/of/custom/module/in/modules/database/a.sjs", "vars": { "myParameter": "myParameterValue" } "when": "beforeContentPersisted", } ]- path
- The URI of the interceptor in the MODULES database.
- vars
- (Optional) A JSON object containing parameters to pass to the interceptor.
- when
- Currently, only
beforeContentPersistedis supported.
Custom Hook A step add-on that performs additional processes in its own transaction before or after the core step transaction. Results are saved within a transaction. Syntax:
{ "module" : "/uri/of/custom/module/in/modules/database/a.sjs", "parameters" : { "myParameter" : "myParameterValue" }, "user" : "account-required-to-run-module", "runBefore" : false }- module
- The URI of your custom hook module in the MODULES database.
- parameters
- (Optional) A JSON object containing parameters to pass to your custom hook module.
- user
- The user account to use to run the module. Typically, a user with the security role data-hub-operator.
- runBefore
- For a pre-step hook, set to
true. For a post-step hook, set tofalse.
Learn more: Creating a Custom Hook Module and Adding a Custom Hook to a Step Manually.