Save and Manage Queries Using Hub Central
After filtering the data in the Explore area, you can save the filter settings as a query to apply again later.
Each query is associated with a single entity type. You can select and apply filters while All Entities is selected; however, you can save the query, only if a single entity type is selected.
The filter settings saved in the query are:
- The selected entity type
- The search text
- The selected facets
- The selected table columns (entity properties)
- The selected sortable property and sort order
Note: You can manage and run only the queries that you saved. Saved queries cannot be shared with or accessed by other users.
Before you begin
You need:
- Security role(s):
- To view PII data: pii-reader
- To view all other data: any Hub Central role
- To save and run queries: Hub Central Explorer or Hub Central Operator
Procedure
- Go to the Explore area of Hub Central.
Learn how.
- Go to your Hub Central endpoint.
Learn more:
- In the icon bar, click the Explore icon (h).
- Go to your Hub Central endpoint.
- At the Explore portal, choose the data you see and how you view it, or run a predefined query.
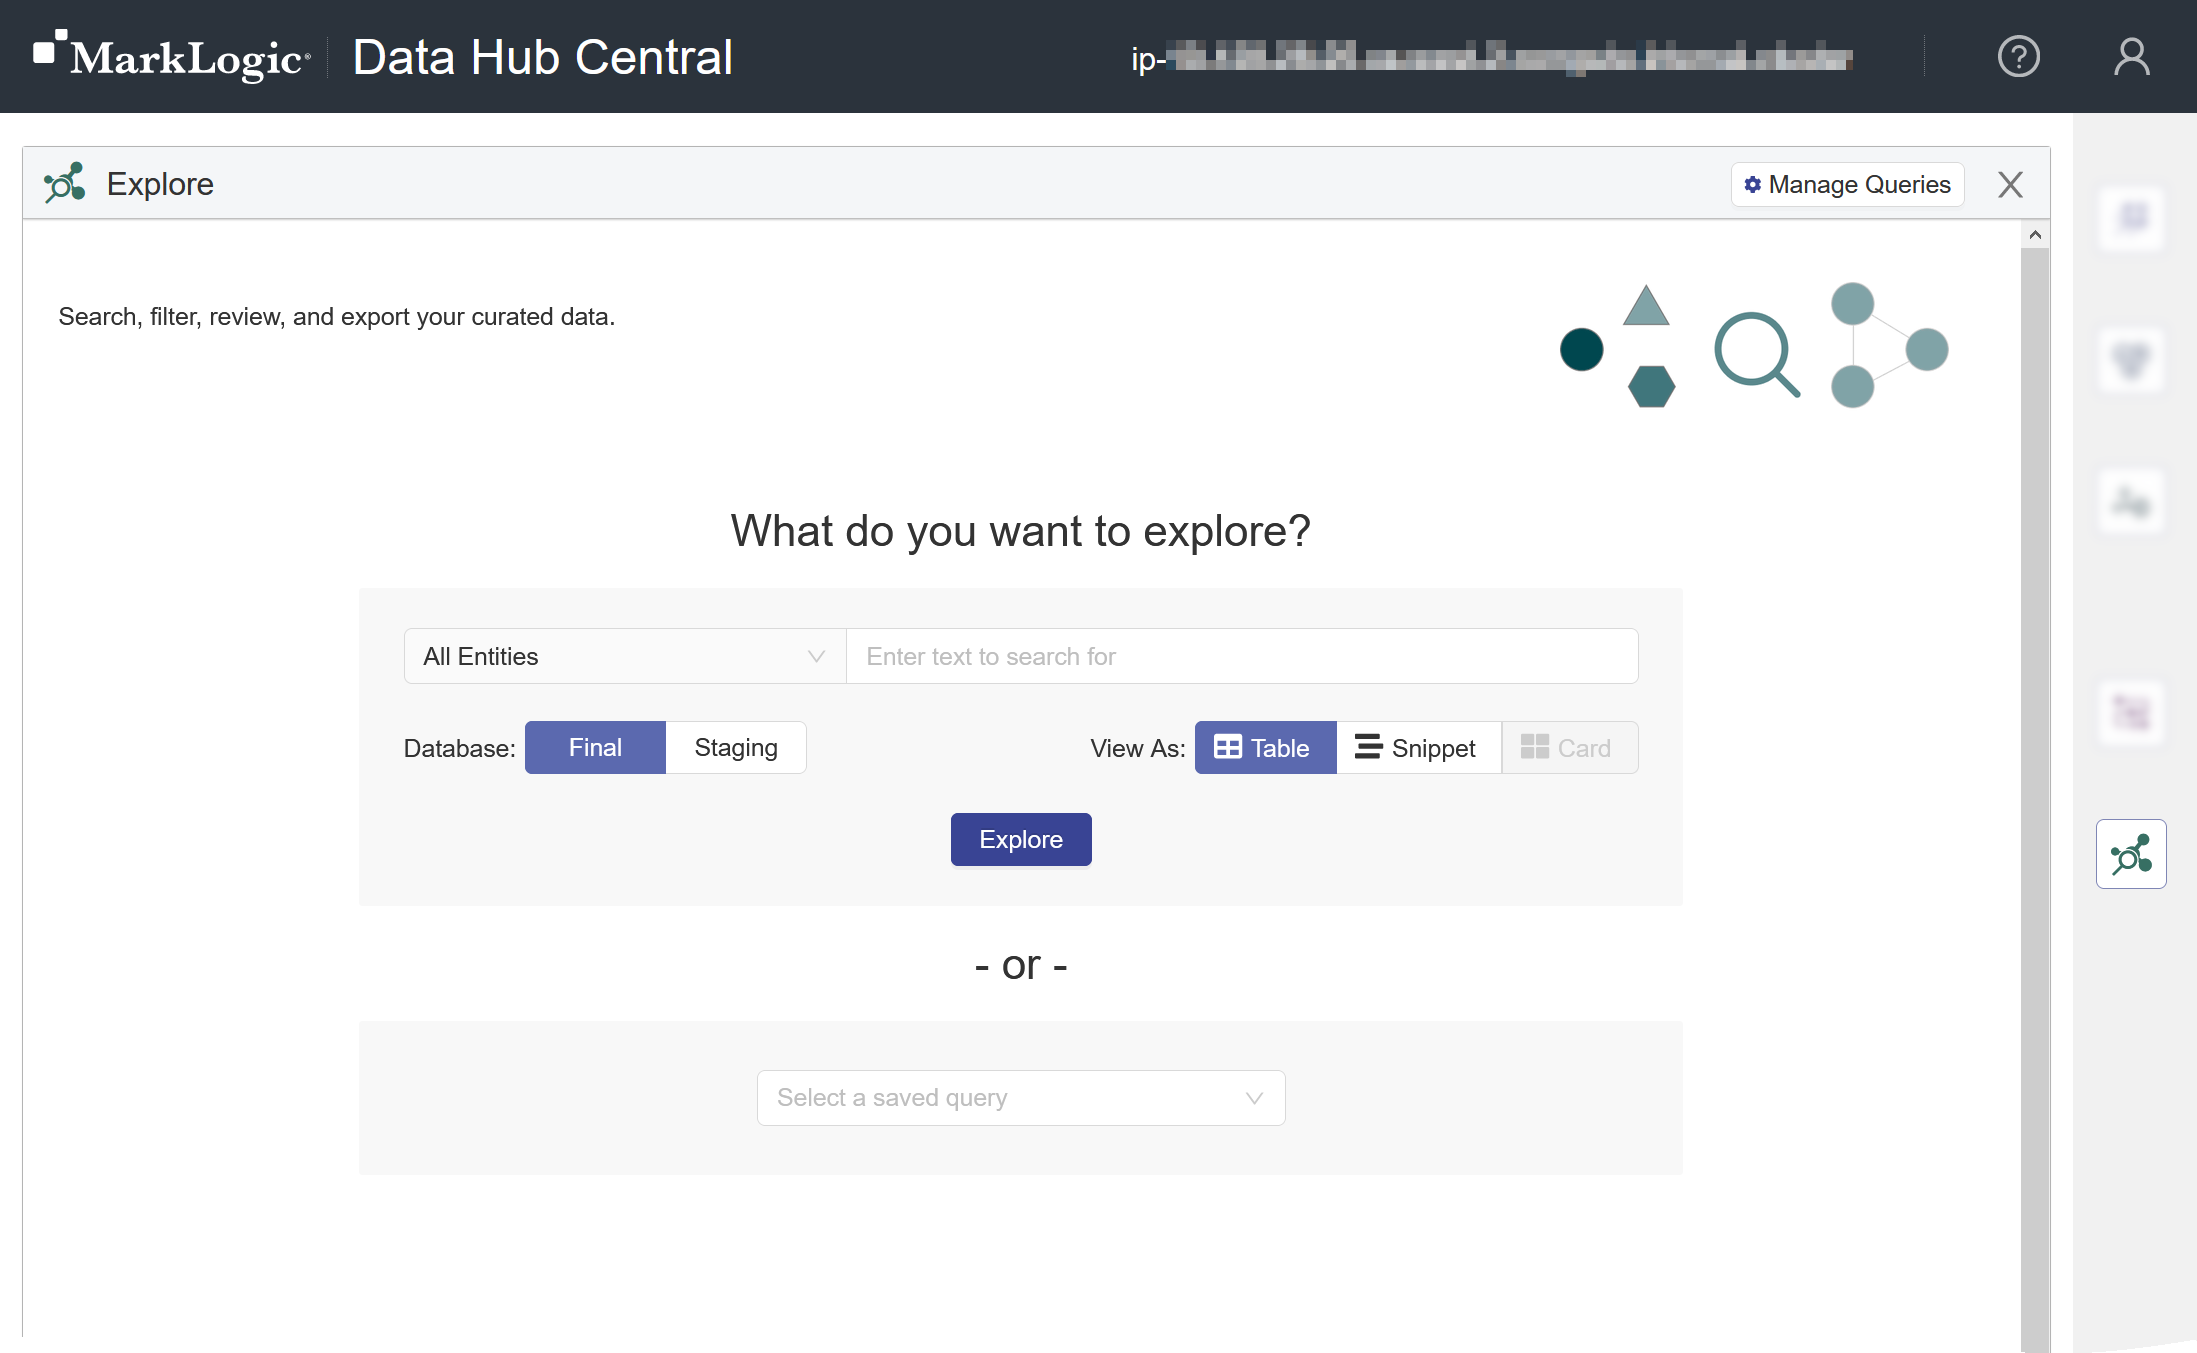
- To filter your data, select from the entity type dropdown and/or enter text to search for.
- Choose whether to view the documents in a table or as a list with snippets of the documents.
- In the Table view, the properties of the documents are displayed in columns.
- In the Snippet view, a portion of each document is displayed, as well as its properties.
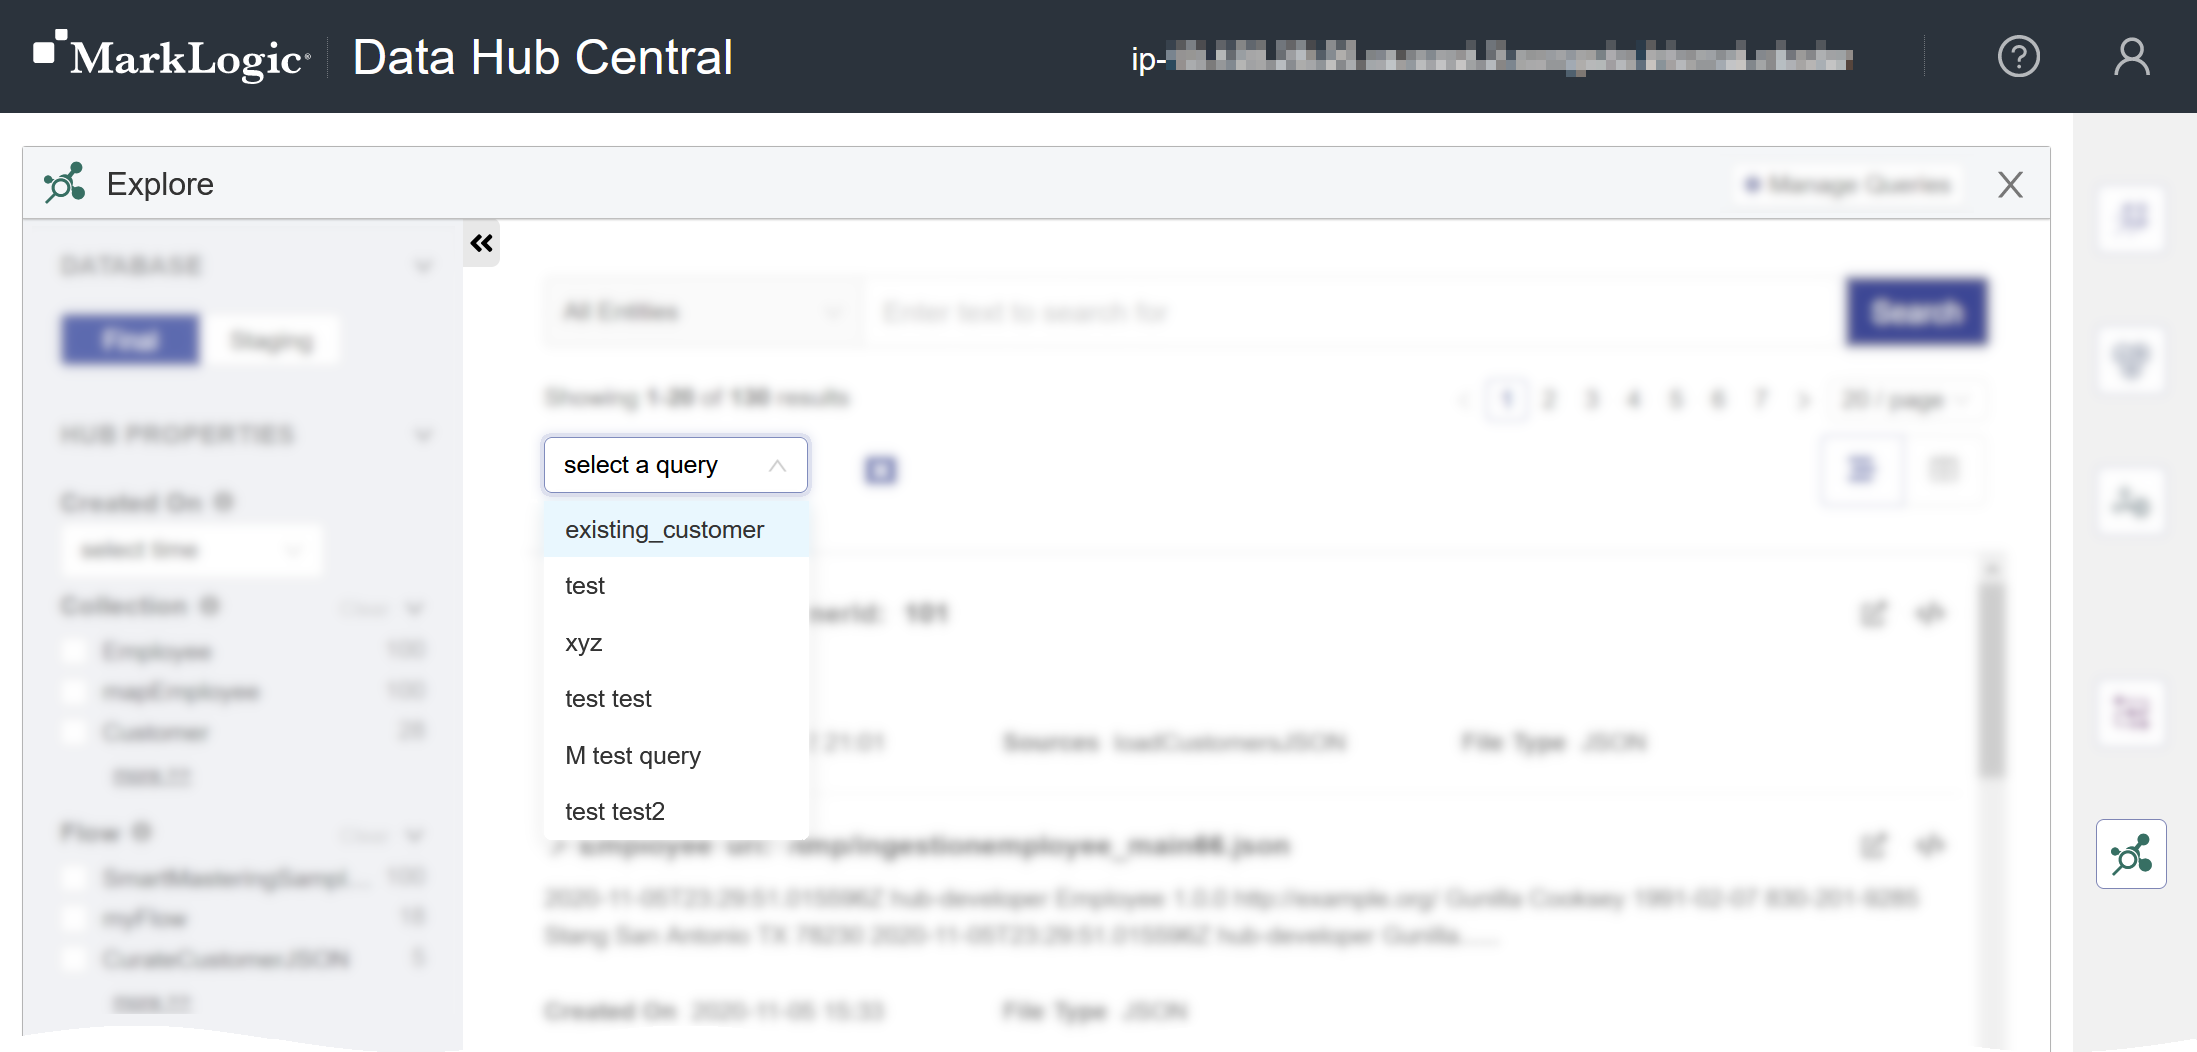
- To run a predefined query, select from the query dropdown.
- Manage your queries.
- In the document list:
- To create a new query,
- In the Explore area, select a single entity type that has associated documents.
- (Optional) Filter your data further by entering text to search and by selecting facets in the facet panel.
- Click the Save Query icon ().
- Enter the name and description for the new query.
- Click .
- To run an existing query, simply select the query from the query dropdown.
The selected entity type, the search text, the facets, the sort order, and the properties to display are restored to the settings saved in the query.
After selecting the query, you can choose and apply additional filters (search text and facets).
- To save the current filter settings to the same query, click the Save Query icon ().
- To save the current filter settings to a new query, click the Save As icon ().
- To revert back to the saved query and undo filter changes, click the undo icon ().
- To clear all filters, including the selected query, click the squared X icon ().
- To edit the name and description of the selected query, click the pencil icon ().
- To create a new query,
- In the query list:
To view the list of queries, click the gear icon () at the top right of the Explore panel and select Manage Queries.

In the list of queries,
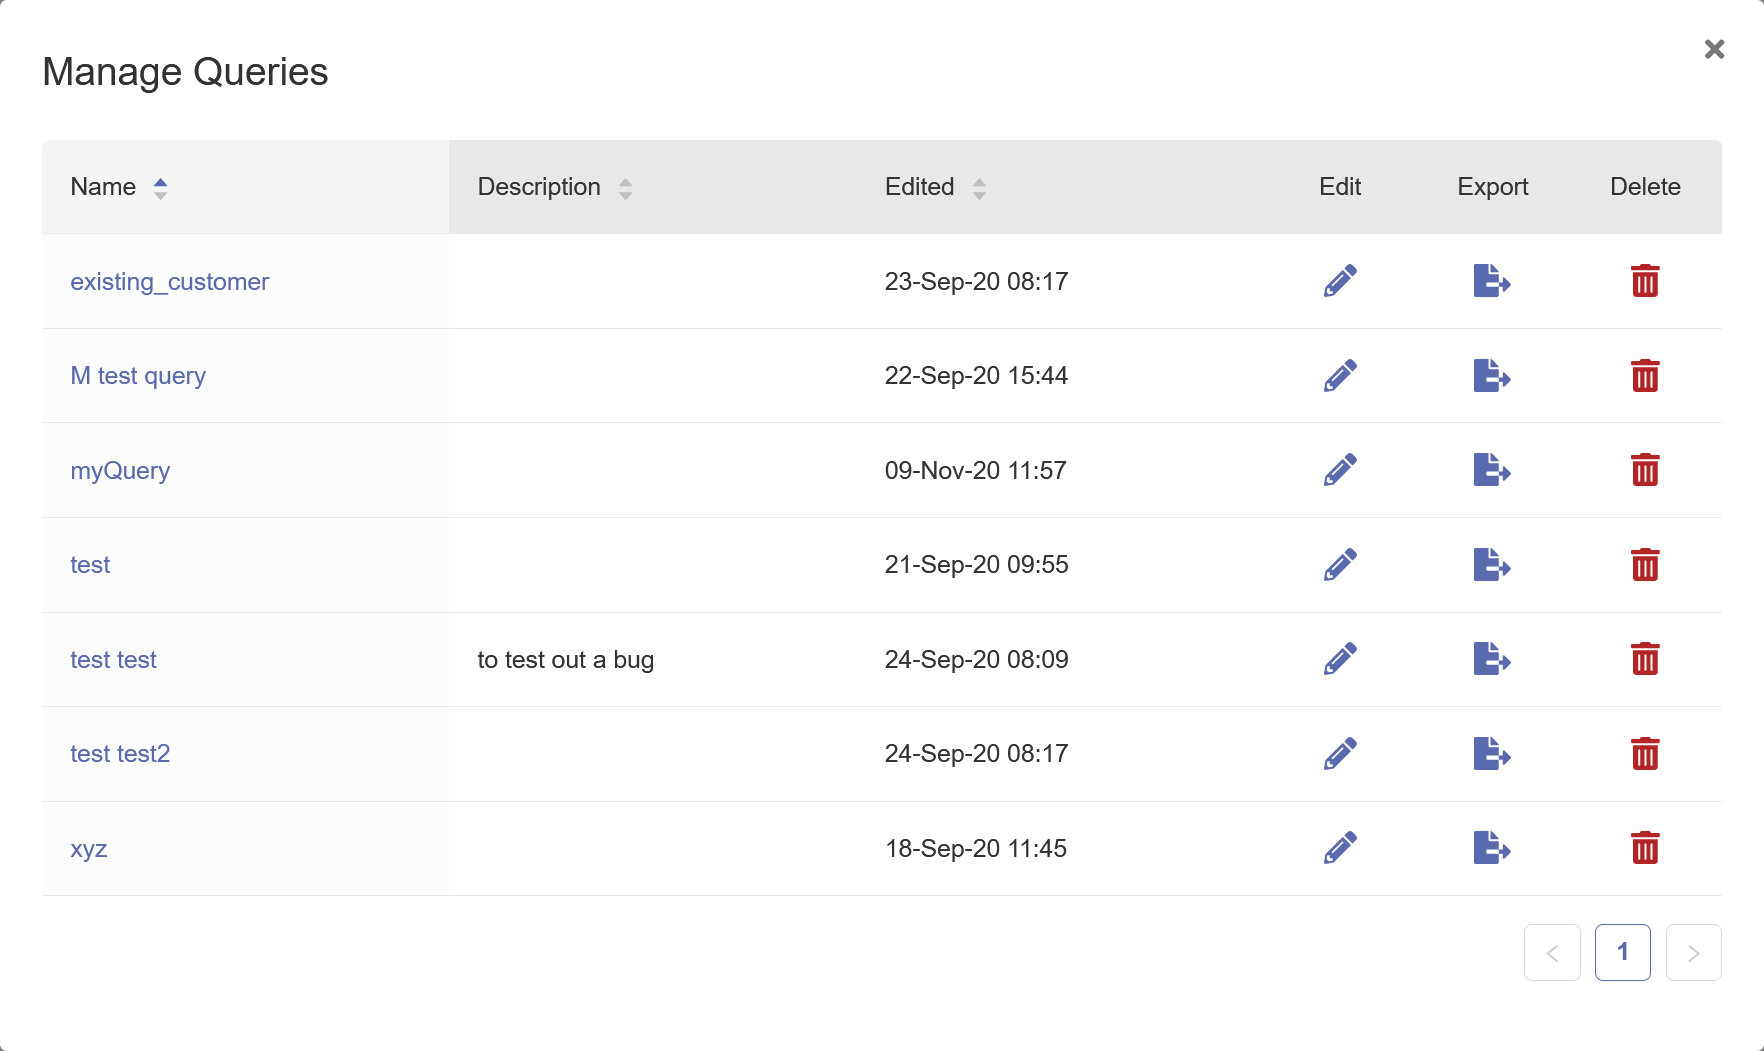
- To edit a query, click the pencil icon () for the query.
- To delete a query, click the trash icon () for the query.
- In the document list: