Creating a Certificate Template
Access to an SSL-enabled server is managed by a public key in a signed certificate obtained from a certificate authority. The first step in producing a request for a signed certificate is to define a certificate template. This procedure will produce a self-signed certificate that your browser can temporarily use to access an SSL-enabled server until you receive a signed certificate from a certificate authority.
Click Security in the left tree menu.
Click Certificate Templates on the left tree menu.
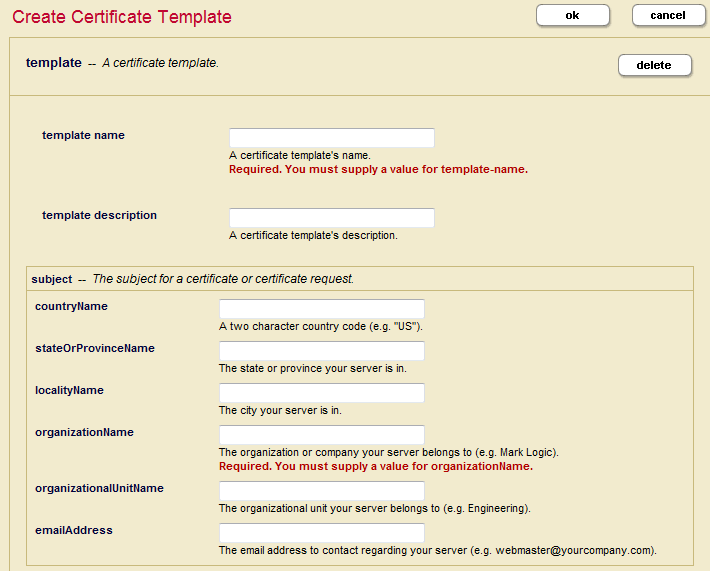
Click the Create tab. The Create Certificate Template page appears:

In the Template Name field, enter a shorthand name for this certificate template. MarkLogic Server will use this name to refer to this template on display screens in the Admin Interface.
You can enter an optional description for the certificate template:

Enter the name of your company or organization into organizationName.
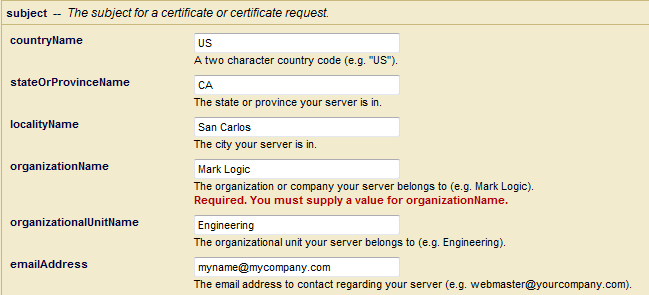
You can optionally fill in subject information, such as your country, state, locale, and email address. Country Name must be two characters, such as
US,UK,DE,FR,ES, and so on:
When you have finished filling in the fields, click OK. MarkLogic Server automatically generates a Self-Signed Certificate Authority, which in turn automatically creates a signed certificate from the certificate template for each host. For details on how to view the Certificate Authority and signed certificate, see Viewing Trusted Certificate Authorities.