Creating a MarkLogic Server User with an Internal Name
To configure certificate-based user authentication for user, demoUser1, as a MarkLogic Server internal user, follow these steps in the Admin Interface:
Click Security in the left tree menu.
Click Users.
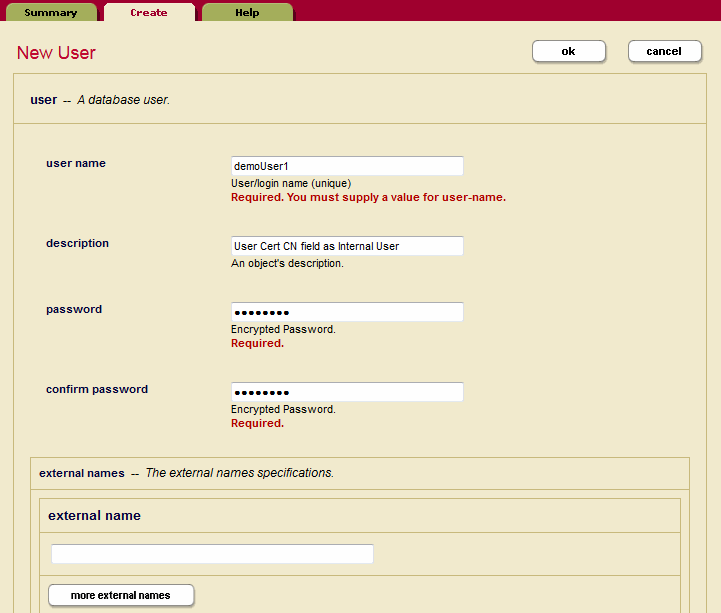
Click the Create tab. The New User configuration page appears.
In the user name field, enter the user name as it appears in the
CNvalue of the certificate Subject field (demoUser1in the example shown in User Certificate Example).
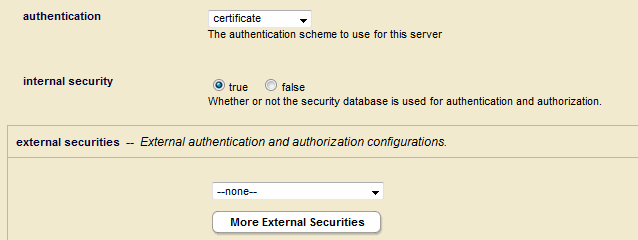
In the App Server configuration page, set authentication to
certificateand set internal security totrue. Unless you want to have the user authenticated as an external user as well, set external securities tonone.
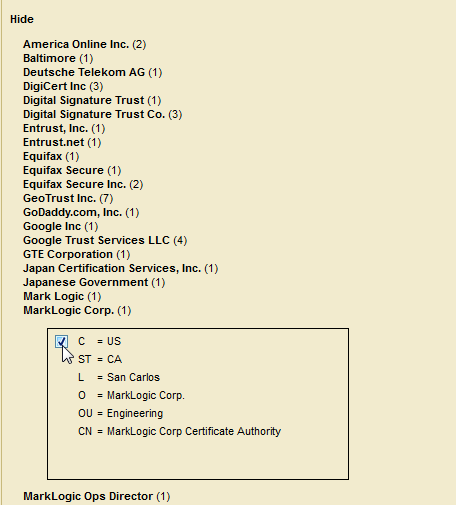
In the App Server configuration page, scroll down to the bottom and select
showin the SSL Client Certificate Authorities section.![Admin Interface Screenshot illustrating the location of [Show] near the bottom of the app server configuration page](../../image/1668554c526ca6.gif)
Select the CA created in CA Certificate (User Cert Signer) Import from Admin Interface to sign the client/user certificate.

Once configured, demoUser1 is now able to access the app server with a browser that has the user certificate installed, as described in Certificate Template & Template CA Import into Client (Browser/SSL Client).
Note
You will also need to assign the necessary roles to demoUser1 to access the needed MarkLogic Server resources.