MarkLogic Server 11.0 Product DocumentationSemantic Graph Developer's Guide — Chapter 2
Getting Started with Semantic Graphs in MarkLogic
This chapter includes the following sections:
Setting up MarkLogic Server
When you install MarkLogic Server, a database, REST instance, and XDBC server (for loading content) are created automatically for you. The default Documents database is available on port 8000 as soon as you install MarkLogic Server, with a REST instance attached to it.
The examples in this guide use this pre-configured database, XDBC server, and REST API instance on port 8000. This section focuses on setting up MarkLogic Server to store triples. To do this, you will need to configure the database to store, search, and manage triples.
You must have admin privileges for MarkLogic Server to complete the procedures described in this section.
Install MarkLogic Server on the database server, as described in the Installation Guide for All Platforms, and then perform the following tasks:
Configuring the Database to Work with Triples
The Documents database has the triple index and the collection lexicon enabled by default. These options are also enabled by default for any new databases you create.
If you have an existing database that you want to use for triples, you need to make sure that the triple index and the collection lexicon are both enabled. You can also use these steps to verify that a database is correctly set up. Follow these steps to configure an existing database for triples:
- Navigate to the Admin Interface (
localhost:8001). Click the Documents database, and then click the Configure tab. - Scroll down the Admin Configure page to see the status of triple index.

Set this to true if it is not already configured. The triple index is used for semantics.
The collection lexicon index is required and used by the REST endpoint. You will only need the collection lexicon if you are querying a named graph.
This is all you need to do before loading triples into your default database (the Documents database).
For all new installations of MarkLogic 9 and later, the triple index and collection lexicon are enabled by default. Any new databases will also have the triple index and collection lexicon enabled.
Setting Up Additional Servers
In a production environment, you will want to create additional app servers, REST instances, and XDBC servers. Use these links to find out more:
- Application servers: The process to create additional app servers is described in Creating and Configuring App Servers in the Administrator's Guide.
- REST instances: To create a different REST instance on another port, see Administering REST Client API Instances in the REST Application Developer's Guide.
- XDBC servers: The process to create an XDBC server is described in detail in Creating a New XDBC Server in the Administrator's Guide.
Loading Triples
This section covers loading triples into the database. It includes the following topics:
Downloading the Dataset
Use the full sample of Persondata from DBPedia (in English and Turtle serialization) for the examples, or use a different subset of Persondata if you prefer.
- Download the Persondata example dataset from DBPedia. You will use this dataset for the steps in the rest of this chapter. The dataset is available at https://wiki.dbpedia.org/develop/datasets/dbpedia-version-2016-10. To manually select it, go to http://wiki.dbpedia.org/downloads-2016-10, scroll down to Persondata, and select the TTL version: http://downloads.dbpedia.org/2016-10/core-i18n/en/persondata_en.ttl.bz2
DBPedia datasets are licensed under the terms of the of the Creative Commons Attribution-ShareAlike License and the GNU Free Documentation License. The data is available in localized languages and in N-Triple and N-Quad serialized formats.
- Extract the data from the compressed file to a local directory, for example,
C:\space.
Importing Triples with mlcp
There are multiple ways to load triples into MarkLogic, including MarkLogic Content Pump (mlcp), REST endpoints, and XQuery. The recommended way to bulk-load triples is with mlcp. These examples use mlcp on a standalone Windows environment.
- Install and configure MarkLogic Pump as described in Installation and Configuration in the mlcp User Guide.
- In the Windows command interpreter,
cmd.exe, navigate to the mlcp bin directory for your mlcp installation. For example:cd C:\mlcp-11.0\bin
- Assuming that the Persondata is saved locally under
C:\space, enter the following single-line command at the prompt:mlcp.bat import -host localhost -port 8000 -username admin ^ -password password -input_file_path c:\space\persondata_en.ttl ^ -mode local -input_file_type RDF -output_uri_prefix /people/
For clarity the long command line is broken into multiple lines using the Windows line continuation character ^. Remove the line continuation characters to use the command.
The modified command for UNIX is:
mlcp.sh import -host localhost -port 8000 -username admin -password\
password -input_file_path /space/persondata_en.ttl -mode local\
-input_file_type RDF -output_uri_prefix /people/
For clarity, the long command line is broken into multiple lines using the UNIX line continuation character \. Remove the line continuation characters to use the command.
The triples will be imported and stored in the default Documents database.
- Lots of lines of text will display in your command line window, perhaps with what appear to be warning messages. This is normal. The successful triples data import (UNIX output) looks like this when it is complete:
14/09/15 14:35:38 INFO contentpump.ContentPump: Hadoop library version:
2.0.0-alpha
14/09/15 14:35:38 INFO contentpump.LocalJobRunner: Content type: XML
14/09/15 14:35:38 INFO input.FileInputFormat: Total input paths to
process : 1
O:file:///home/persondata_en.ttl : persondata_en.ttl
14/09/15 14:35:40 INFO contentpump.LocalJobRunner:  completed 0%
14/09/15 14:40:27 INFO contentpump.LocalJobRunner:  completed 100%
14/09/15 14:40:28 INFO contentpump.LocalJobRunner:
com.marklogic.contentpump.ContentPumpStats:
14/09/15 14:40:28 INFO contentpump.LocalJobRunner: ATTEMPTED_INPUT_RECORD_COUNT: 59595
14/09/15 14:40:28 INFO contentpump.LocalJobRunner: SKIPPED_INPUT_RECORD_COUNT: 0
14/09/15 14:40:28 INFO contentpump.LocalJobRunner: Total execution time: 289 sec
Verifying the Import
To verify that the RDF triples are successfully loaded into the triples database, do the following.
- Navigate to the REST Server with a Web browser:
http://hostname:8000
where hostname is the name of your MarkLogic Server host machine, and
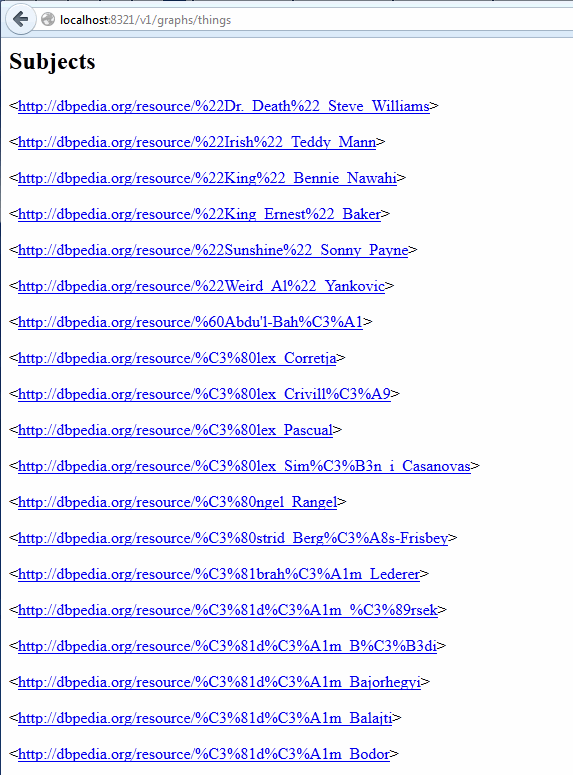
8000is the default port number for the REST instance that was created when you installed MarkLogic Server. - Append /latest/graphs/things to the end of the web address URL where latest is the latest version of the REST API. For example:
http://hostname:8000/v1/graphs/things
- Click on a subject link to view the triples. Subject and object IRIs are presented as links.
Querying Triples
You can run SPARQL queries in Query Console or via an HTTP endpoint using the /v1/graphs/sparql endpoint (GET /v1/graphs/sparql and POST /v1/graphs/sparql). This section includes the following topics:
- Querying with Native SPARQL
- Querying with the sem:sparql Functions
This section assumes you loaded the sample dataset as described in Downloading the Dataset.
Querying with Native SPARQL
You can run queries in Query Console using native SPARQL or the built-in function sem:sparql.
- Navigate to Query Console with a Web browser:
http://hostname:8000/qconsole
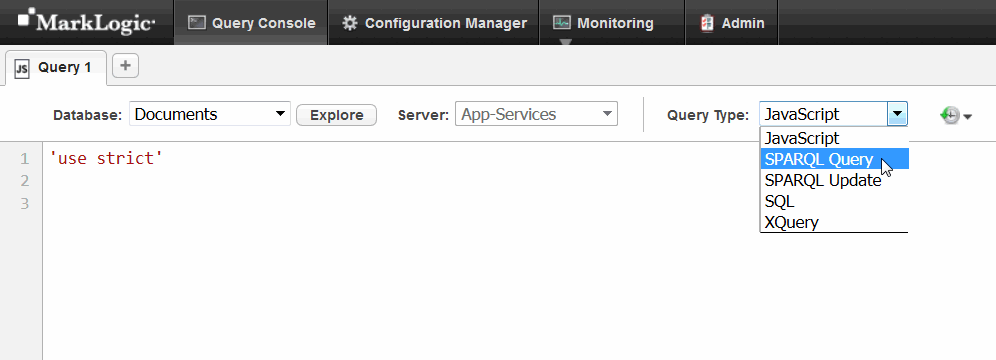
- From the Database drop-down list, select the Documents database.
- From the Query Type drop-down list, select SPARQLQuery.
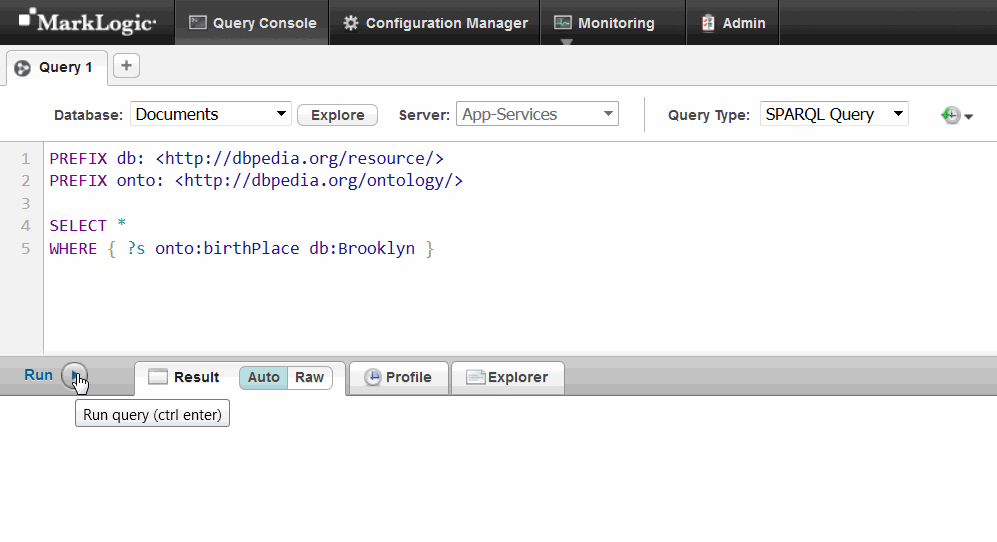
- In the query window, replace the default query text with this SPARQL query:
PREFIX db: <http://dbpedia.org/resource/>
PREFIX onto: <http://dbpedia.org/ontology/>

SELECT *
WHERE { ?s onto:birthPlace db:Brooklyn }
- Click Run.
Querying with the sem:sparql Functions
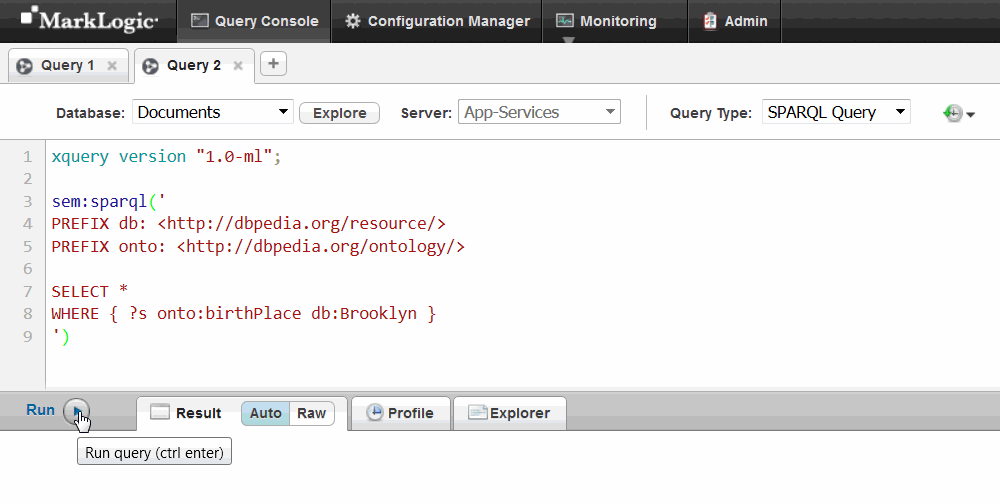
Use the built-in XQuery function sem:sparql in Query Console to run the same query.
- From the Database drop-down list, select the Documents database.
- From the Query Type drop-down list, select XQuery.
- In the query window, enter this query:
xquery version "1.0-ml";

sem:sparql('
PREFIX db: <http://dbpedia.org/resource/>
PREFIX onto: <http://dbpedia.org/ontology/>

SELECT *
WHERE { ?s onto:birthPlace db:Brooklyn }
')
- Click Run.
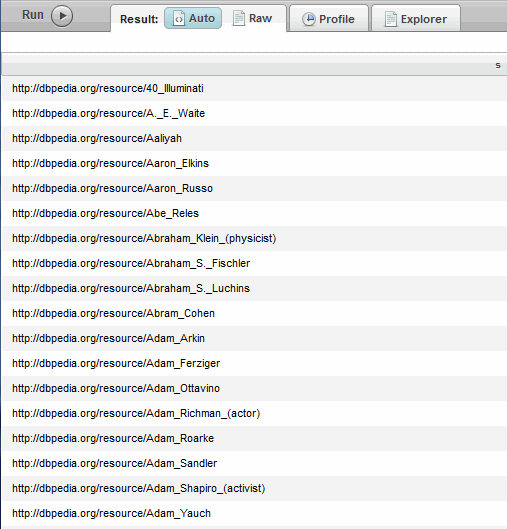
- The results contain IRIS showing people born in Brooklyn, the same as in Querying with Native SPARQL.
For more information and examples of SPARQL queries, see Semantic Queries.

