Application Builder Developer's Guide — Chapter 1
Application Builder Quick Start
Application Builder is deprecated and will be removed in a future release of MarkLogic Server.
This chapter gets you started using Application Builder, a browser-based application that quickly creates fully functional search and analytics applications. These generated applications can, if needed, be customized and extended. This chapter includes the following sections:
- Overview of Application Builder
- Setting Up and Starting Application Services
- Building the Oscars Sample Application
- Loading the Complete Set of Oscars Data
- Using the Oscars Sample Application
- Using Application Builder to Modify the Oscars Sample Application
Overview of Application Builder
Using Application Builder requires no coding on your part. Its user interface is easy to use, while its search applications can have many high-end search features such as a search box with Google-style search grammar, search suggestions, faceted navigation, and results visualization widgets. It scales for huge database sizes while maintaining its speed.
The generated application uses the Search API and can be used as is or customized with your own code.You can define many aspects of an application, such as:
- Facets
- Details appearing on the search result page
- Content display control via item rendering
- Visualization widgets for search results
Typically, building an application is an iterative process. To begin, you must have a representative content set loaded in a database with any needed indexes already set up. If your content is not complete or not completely indexed, you can still generate an application and modify it as you modify your content.
In this chapter, you use Application Builder to generate a sample application based on data about the Oscar awards. For details, see Building the Oscars Sample Application and Using the Oscars Sample Application.
Setting Up and Starting Application Services
Application Builder is bundled with MarkLogic Server Application Services. On a fresh installation of MarkLogic 8, Application Builder is preconfigured and ready to use. For an upgrade installation, your existing application data remains intact although some renaming of your Application database and App Server may occur during the installation process. This section describes the following scenarios:
Clean Installation
When you install MarkLogic Server for the first time, the installation process does the following:
- Creates an HTTP App Server named
App-Serviceson port 8000 for Application Services - Creates a database named
App-Servicesto store the Application Builder application documents
For a complete description of installing MarkLogic Server, see Installing MarkLogic in the Installation Guide.
Starting Application Services
To start Application Services, open a browser and go to your server's port 8000. For example, if your browser runs on the same machine as MarkLogic Server, open the following URL:
http://localhost:8000/appservices
When MarkLogic Server prompts you for a username and password, enter them for a user with either the admin or app-builder role.
For details on these roles, see Predefined Roles for Application Builder.
Building the Oscars Sample Application
Application Builder includes a template to build a sample application based on Oscar awards data from Wikipedia. To build this application, go through the Application Builder wizard as follows:
- Start Application Builder by going to the following URL (If MarkLogic Server is installed on a different host or your App Server uses a different port, substitute those values):
http://localhost:8000/appservices
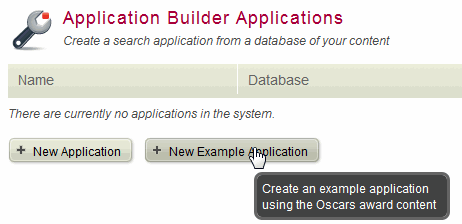
- On the Application Builder Applications screen, click New Example Application.
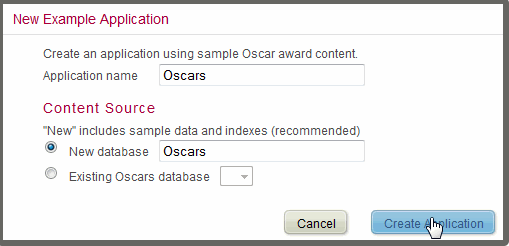
- The New Example Application screen appears.
- Application Builder creates an Oscars App Server, forest, and database and then displays the Search tab page.
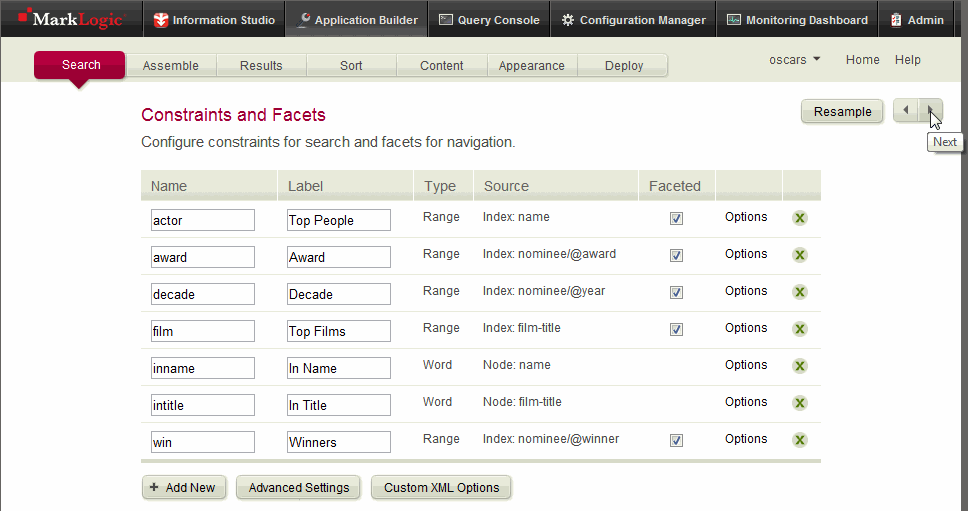
- On the Search page, you can accept the default search constraints and facets or change the settings.
- Click the next button at the upper right to go to the Assemble tab page.
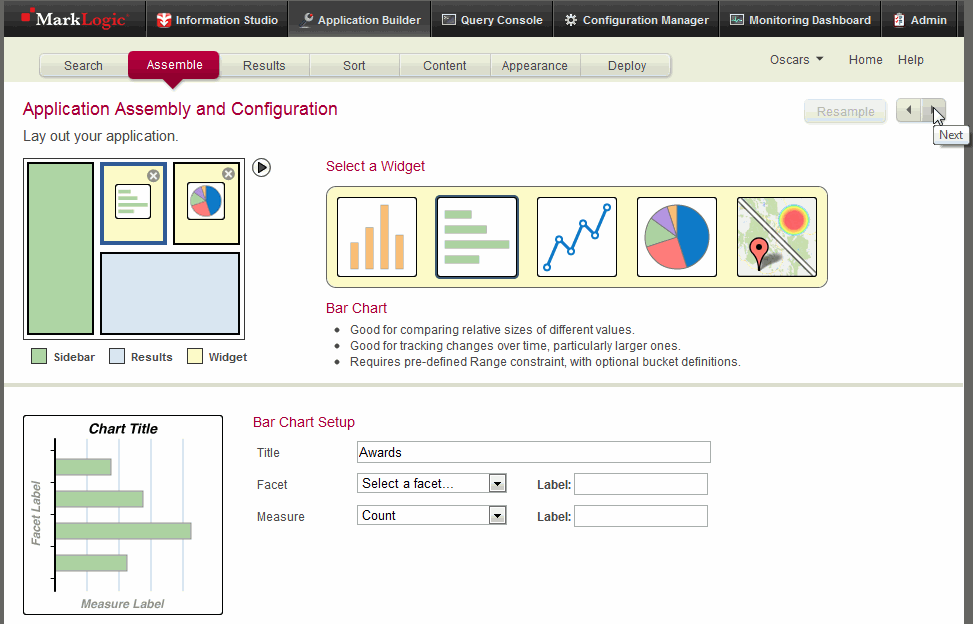
- On the Assemble page, you can accept the defaults widgets and layout or change the settings.
- Click the next button at the upper right to go to the Results tab page.
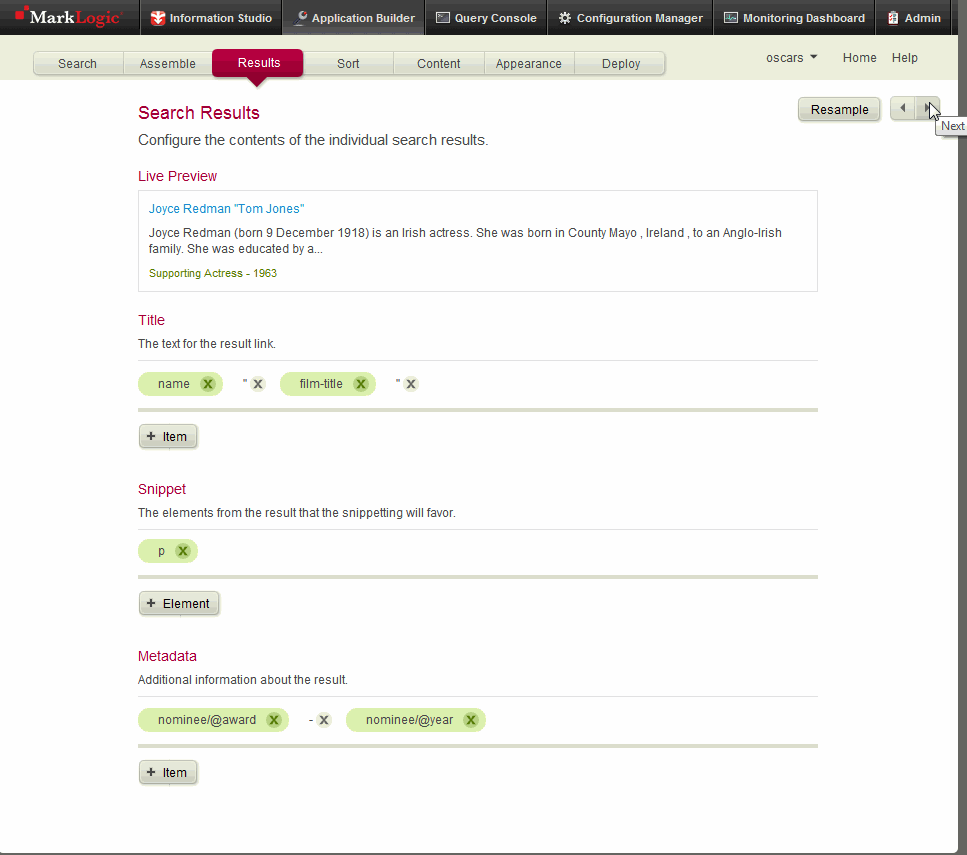
- On the Results page, you can accept the defaults for the contents of an individual search result or change the settings.
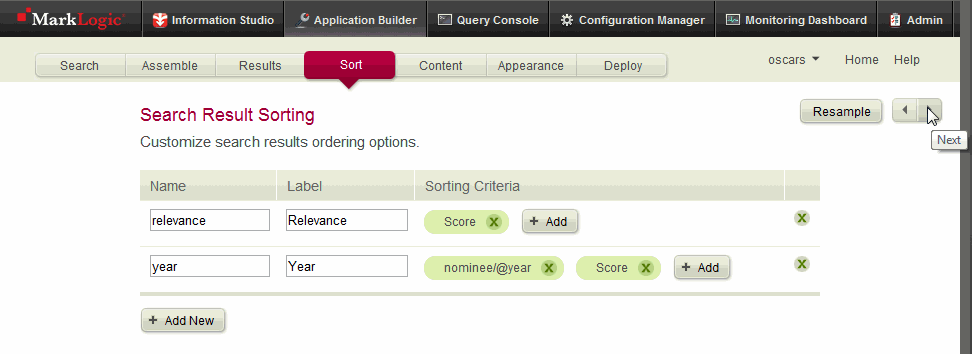
- On the Sort page, you can accept the default search results ordering(s) or change the settings.
- Click the next button to go to the Content page.
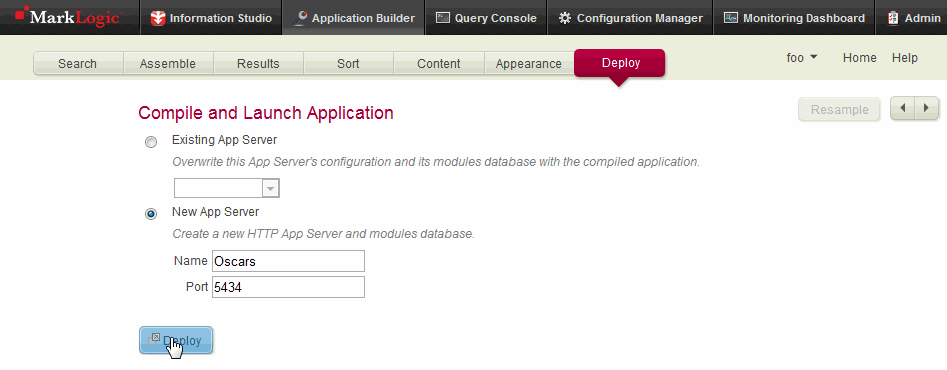
- On the Deploy page, select New App Server. (You can only select Existing App Server if an App Server is already configured for this application.) Accept the default values or provide the App Server with a name and port number.
- Click the Deploy button and confirm.
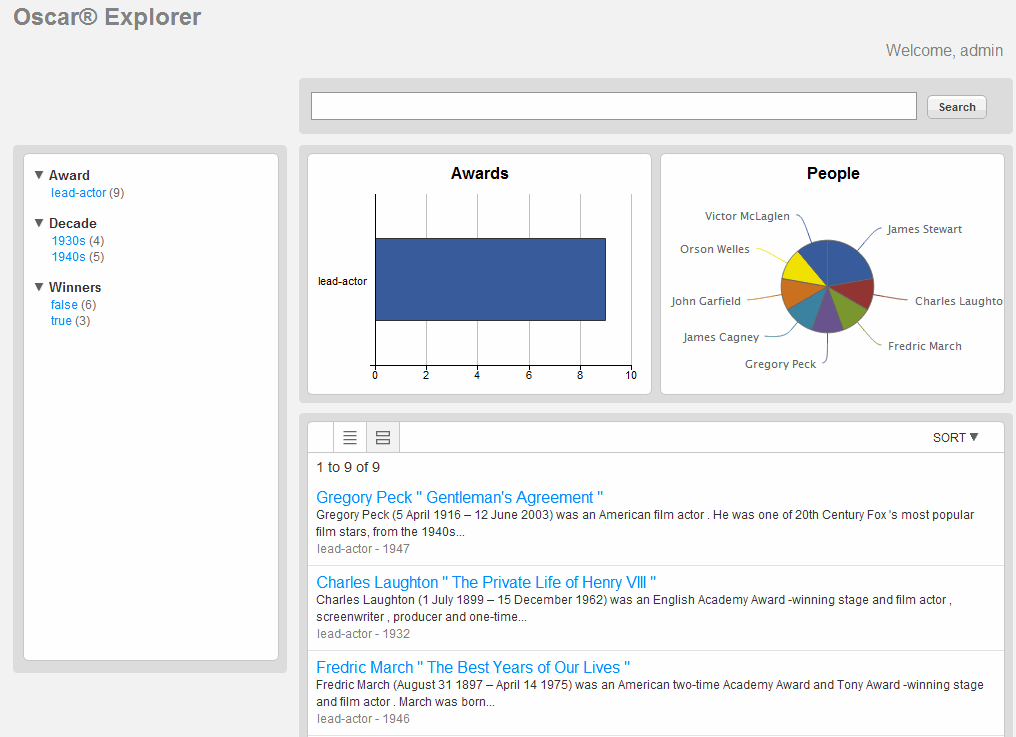
- Application Builder creates and configures the new App Server and opens a new window where it launches the new application. This may take a short while. When Application Builder prompts you to log in, enter a username and password and click OK.
For details about controlling access to your new application, see Controlling Access to Application Builder and to Generated Applications.
When you deploy an application, it appears in a new browser window using a URL whose hostname is what is stored in the MarkLogic Server configuration files (the result of an xdmp:host-name call). If you are running on a laptop computer that is changing networks, the hostname might not be available on your network, resulting in a 404 or similar error when the application launches (because it is trying to access a server name unavailable on your current network). Substituting
localhostfor the hostname in the URL should fix this. - You can test the Oscars application by entering search terms or clicking on the browse links to narrow the diplayed results.
- Application Builder creates and configures the new App Server and opens a new window where it launches the new application. This may take a short while. When Application Builder prompts you to log in, enter a username and password and click OK.
Loading the Complete Set of Oscars Data
Initally, Application Builder only loads a few sample data files for use by the Oscars application. To load the full 20 MB content set, use the following steps:
- In the Information Studio Flows section of the Application Services page, click New Flow.
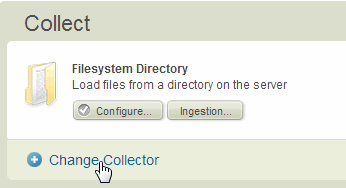
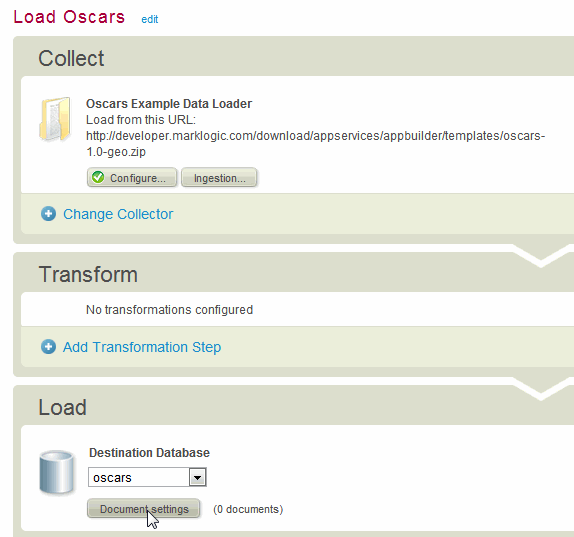
- Click Change Collector at the bottom of the Collect section:
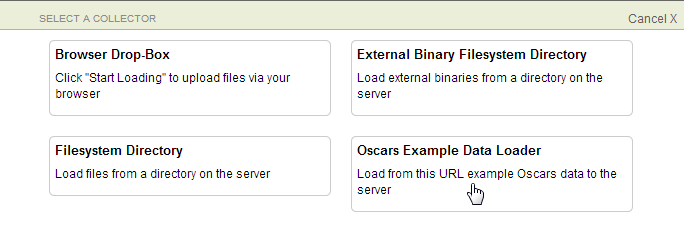
- In the Select A Collector window, select Oscars Example Data Loader:
- In the Configure Settings window, select Done. Do not make any changes in this window.
- The Collect section of the Flow now shows that the Oscars Example Data Loader is configured and the URL from which it will download the data.
- In the Load section, select oscars as the Destination Database and click Document Settings:
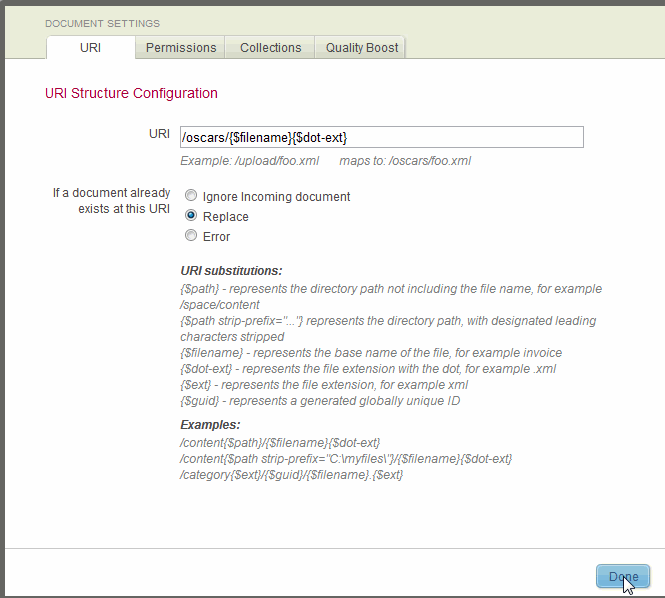
- In the Document Settings window, change the URI Structure Configuration to:
/oscars/{$filename}{$dot-ext} - Click Start Loading to load the content into the database.
The data downloads automatically over your Internet connection, while a spinning icon appears until the load is complete. When done, you will see different count values and additional facet values.
While downloading the sample page, do not navigate away from it or close the browser window until the spinning icon disappears and the page reloads, otherwise the download might be interrupted.
Using the Oscars Sample Application
The Oscars sample application enables you to search, browse, and display articles about Oscar award winners from the last nine decades. It is uses the Search API's standard features, including query text parsing, faceted navigation, snippetting, and many more. For details about the Search API, see Search API: Understanding and Using in the Search Developer's Guide.
While you can learn about the application by playing with it, this section highlights some of its main features, including:
- Keyword Searching, Search Suggestions, and Parsing
- Browsing with Facets
- Search Result Page
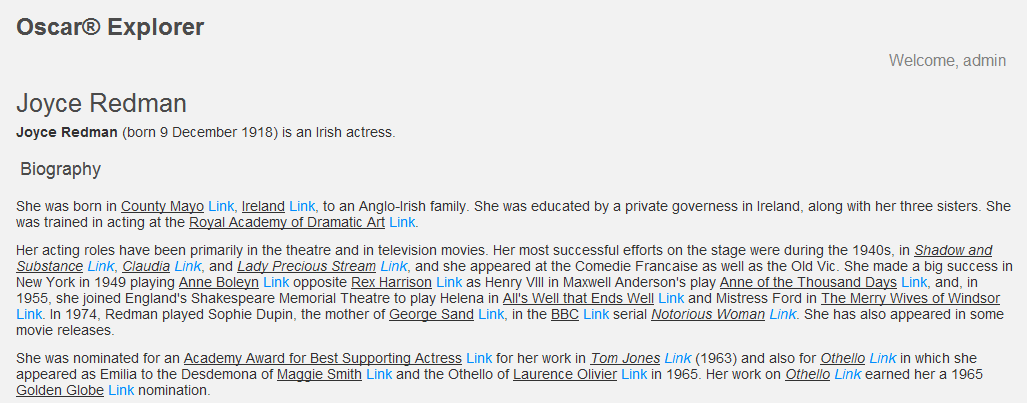
- Displaying Content Details
Keyword Searching, Search Suggestions, and Parsing
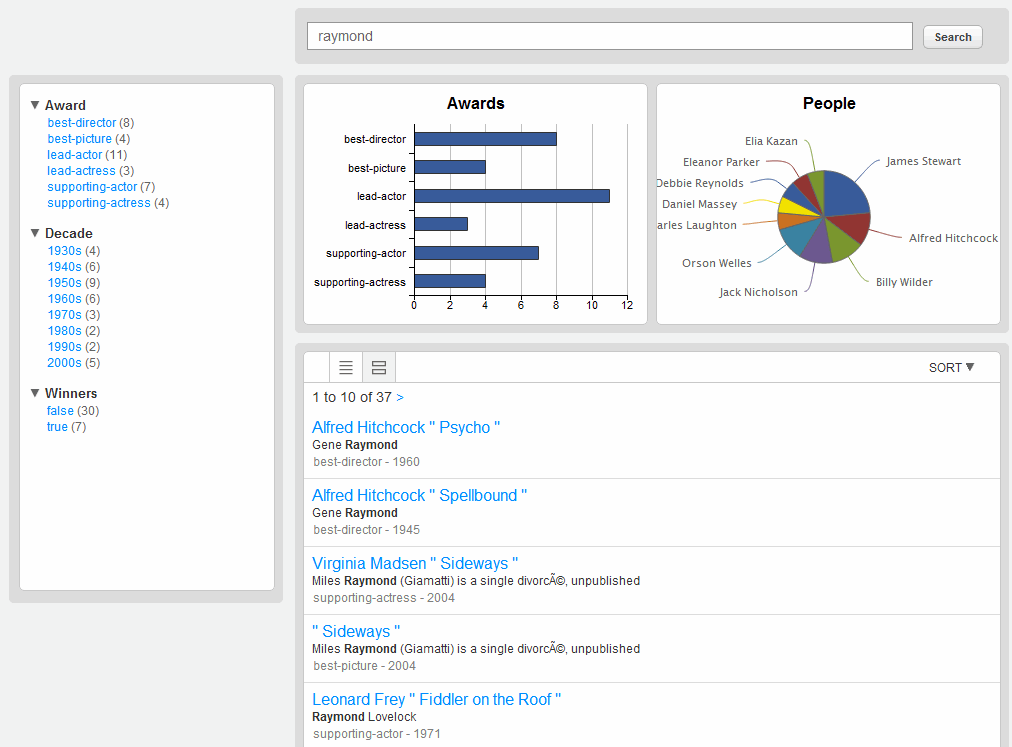
You can enter keywords into the search box and press return to search the database. For example, a search for raymond shows snippets for the first 10 of 37 results.
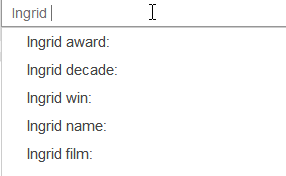
As you type search terms, the application suggests your possible full search. For example, as you type Ingrid Bergman, you might see something like the following:
Because the application uses the Search API, you can use standard search grammar such as combining multiple terms with AND semantics, treating double-quoted phrases as phrases, and so on. For information about the search grammar for the Search API, see Search API: Understanding and Using in the Search Developer's Guide.
You can also search using constraints. For example, the following query text finds everything about the actor Dustin Hoffman:
actor:"Dustin Hoffman"
This is not a standard full-text search, but is a constraint showing all the documents matching where an particular value in the source XML, <actor>, has the content Dustin Hoffman. You can combine the constraint with other terms to further narrow the results:
buck actor:"Dustin Hoffman"
When you click on any links in the user interface, notice that the query text in the search box shows the current query.
Browsing with Facets
The left side of the application shows facets used to browse through the content. When you click on a facet, it narrows the overall search results to those results in the facet's category, while keeping the existing categories or search terms active.
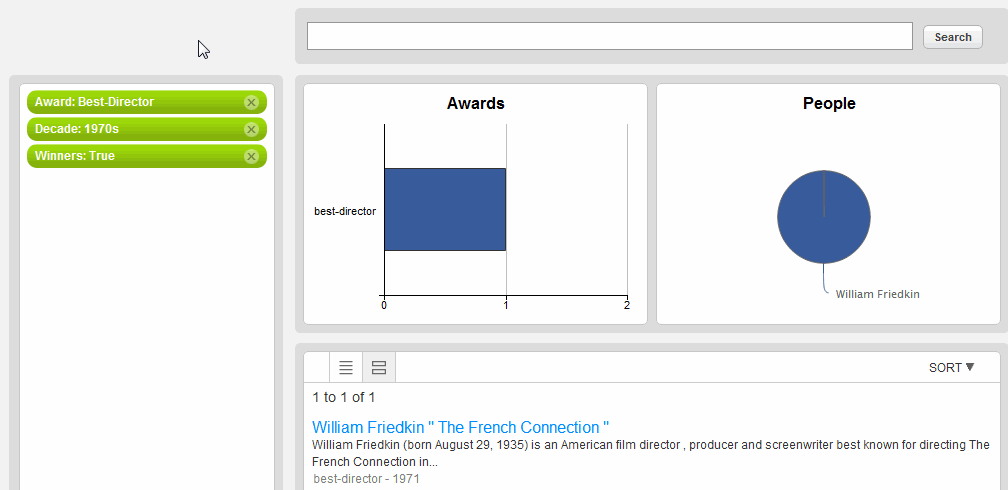
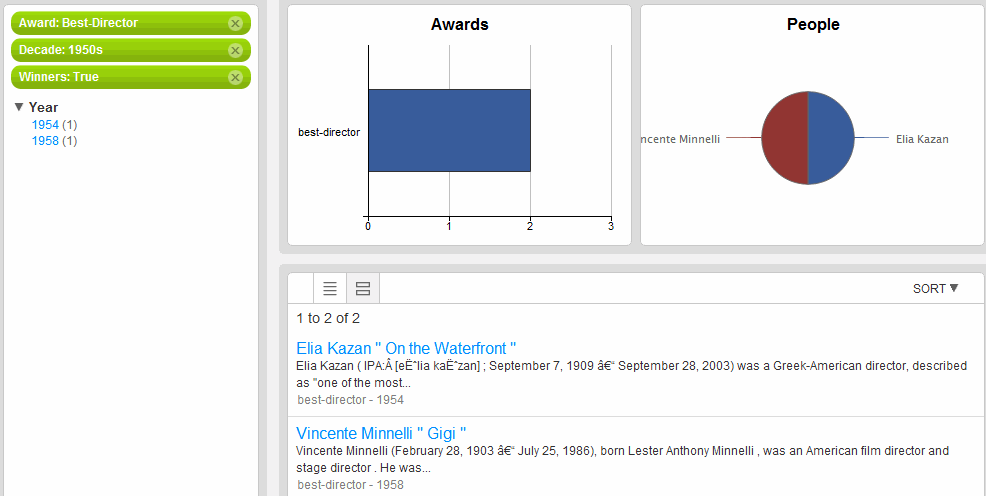
For example, if you first click on the Award:Best Director browse link, then on the Decade:1970s link, and then on the Winners:True link, your results are all of the 1970s winners of the Best Director award.
Each of the browse facets has a count of how many of its results match your current query.
Search Result Page
The search result page shows a link with a text summary of the content, highlighted snippets of the content matching your search, and other information about the search match. Clicking the result link takes you to the content details.
Displaying Content Details
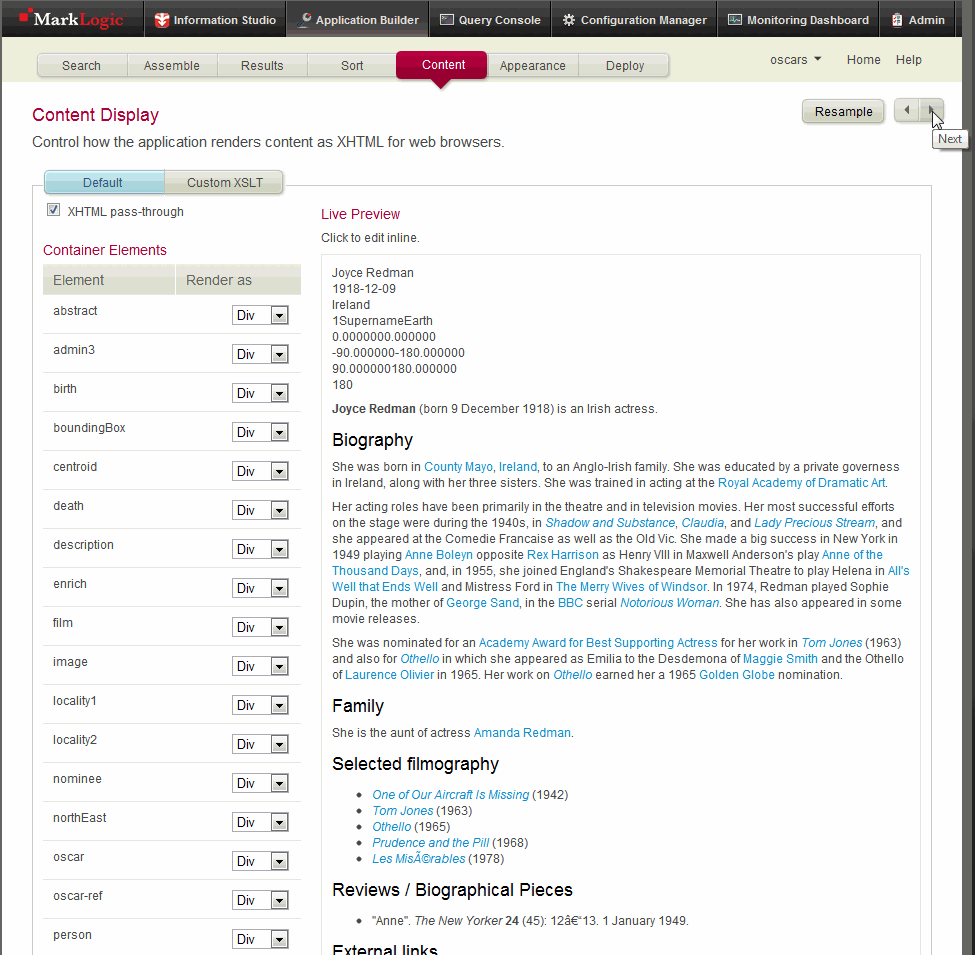
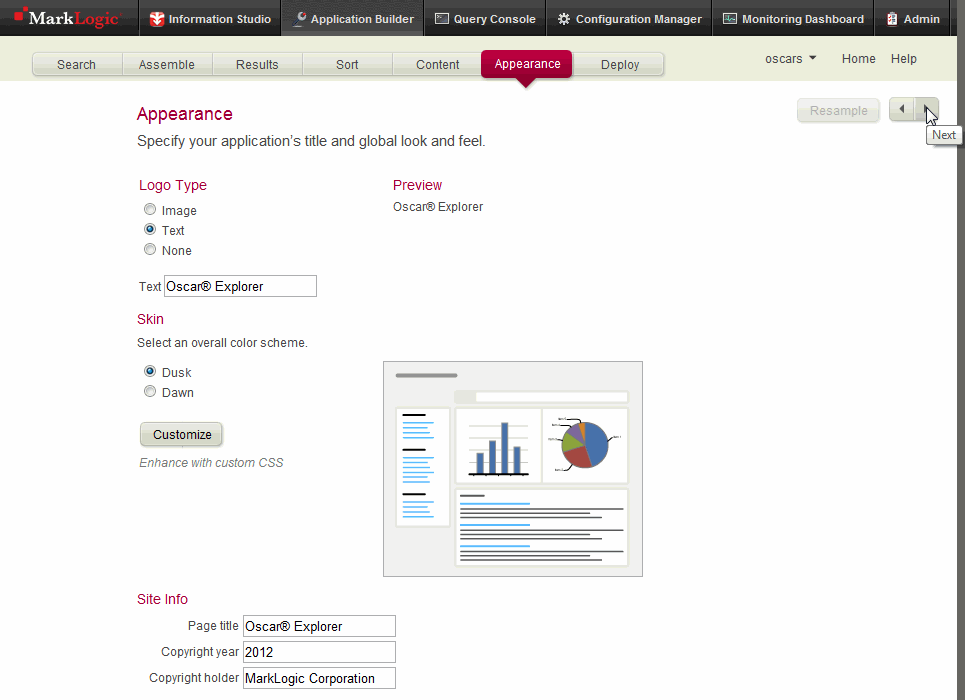
The content details page includes the complete content for the search result. The rendering is based on the configuration specified on Application Builder's Content Display page. The page's style is based on the skin you chose and on any custom CSS entered on the Appearance page.
Using Application Builder to Modify the Oscars Sample Application
This section describes how to add a year facet to the Oscars application. With the year facet, you can first drill down on results with the decade facet, then drill down further using the year facet. The year facet uses the same index as the decade facet.
To create a year facet, do the following:
- Start Application Builder (for example, open
http://localhost:8000/appservicesin a browser). - On the Application Builder Applications page, click the application name that you used for your Oscars sample application (in this case,
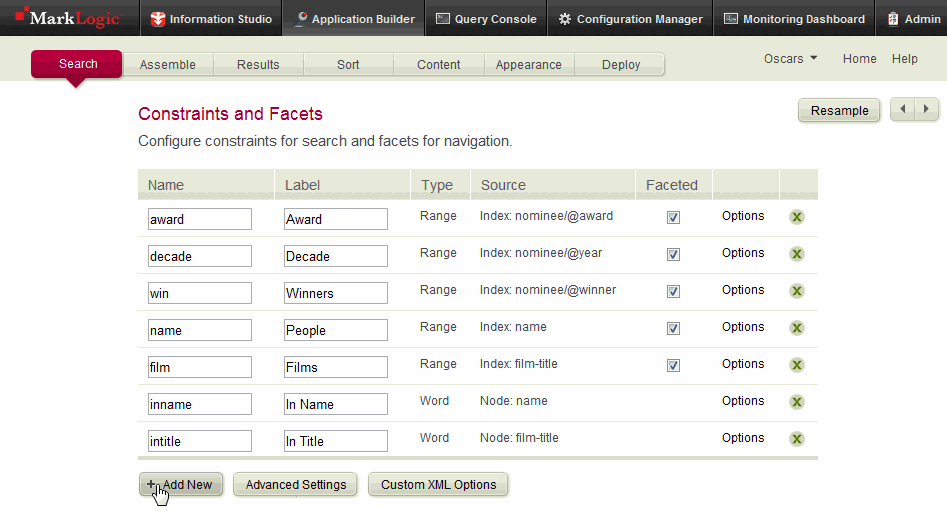
Oscars). - Click the Search tab. At the bottom of the Search page, click Add New:
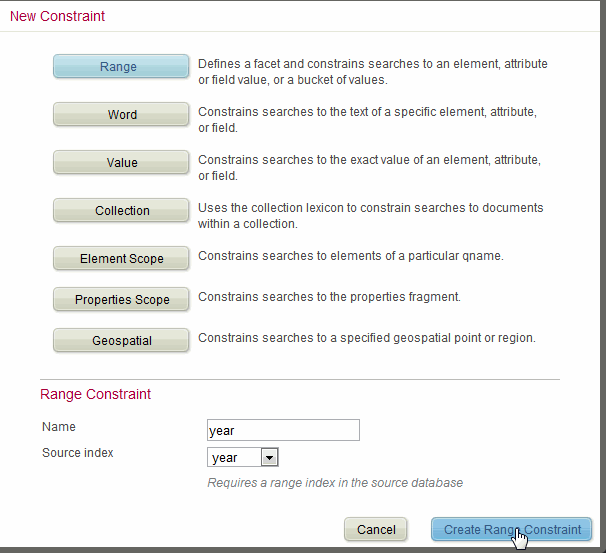
- In the New Constraint dialog, Click Range.
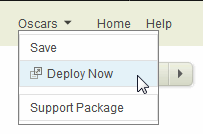
- In the application name menu, click Deploy Now from the Oscars pull-down menu:
- Application Builder compiles and deploys the new application code to your App Server's modules database. During deployment, the following appears in a new window:
The year facet in this example is available at all times, whether or not you have clicked on the decade facet. To only display the year facet after selecting a decade, you need to add additional display logic. The Oscars example application is not set up to do hierarchical logic, but you can modify it to do so. For details on modifying the application, see Extending Applications Built With Application Builder.
